Understanding the Basics of Drive Recognition
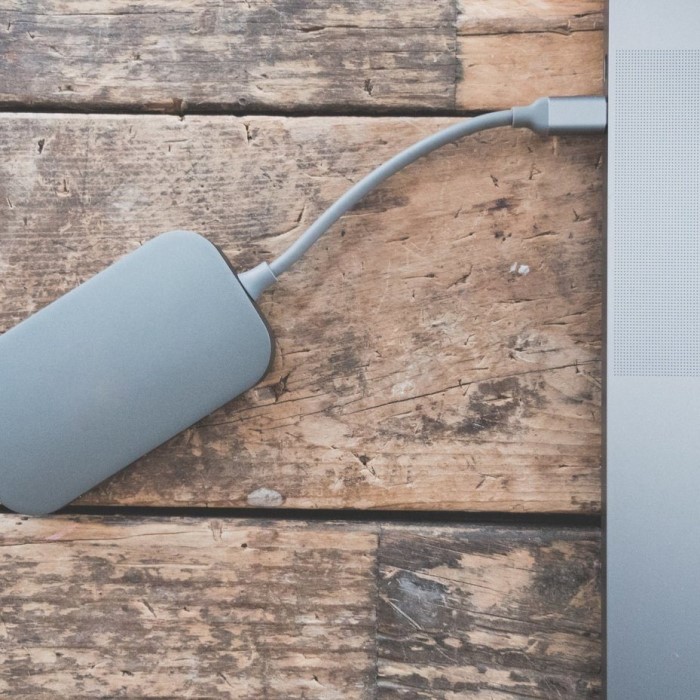
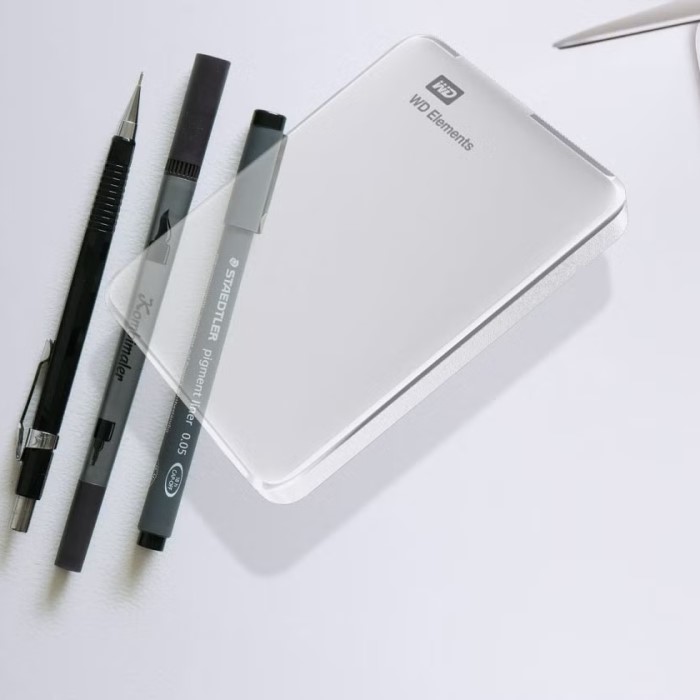
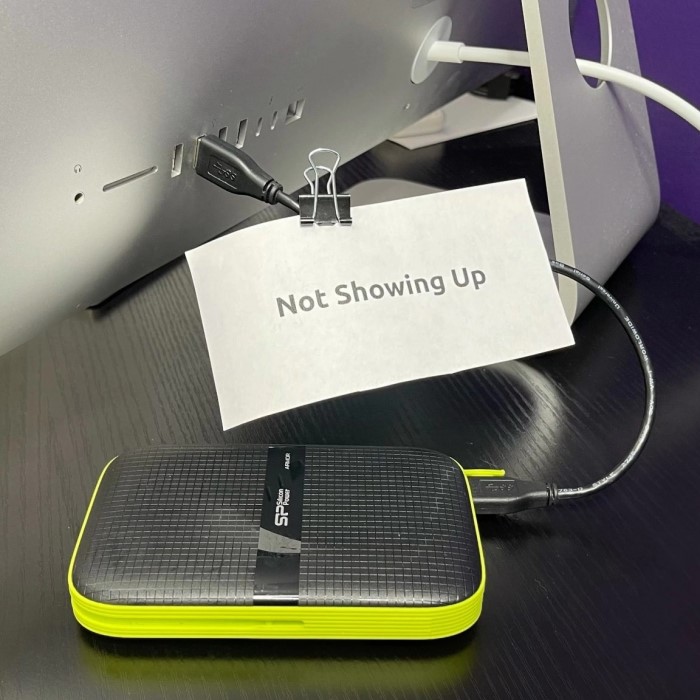
Connecting an external drive to a Mac is usually a seamless experience. Most users expect the device to appear instantly on their desktop or in the Finder sidebar. However, technology does not always behave as expected. You might find yourself in a frustrating situation where your external hard drive not showing up mac becomes a perplexing reality. This issue is more common than you might think. It can happen with drives from various manufacturers like Seagate, Western Digital, or LaCie. Furthermore, it affects different connection types including USB-C, Thunderbolt, and standard USB-A. Understanding why this happens is the first step toward a solution.
Several factors can cause this connectivity problem. Sometimes, the issue is purely physical. A loose cable or a dusty port can interrupt the data flow. In other cases, the problem is software-related. The macOS might simply fail to recognize the file system format. Additionally, the drive settings could be configured to hide external disks. Therefore, it is crucial to approach the problem methodically. You should not panic immediately. Most of the time, the data remains safe on the drive. You just need to coax the operating system into recognizing the hardware.
Moreover, the symptoms can vary significantly. Some users hear the drive spinning but see no icon. Others might see an error message stating the disk is not readable. Occasionally, the drive might appear in Disk Utility but not on the desktop. Each symptom points to a different underlying cause. Consequently, a one-size-fits-all solution does not exist. You must diagnose the specific ailment affecting your setup. This guide will walk you through the most effective troubleshooting steps. We will cover everything from basic checks to advanced terminal commands.
Performing Basic Hardware Checks
The first step in troubleshooting should always involve the physical components. It is easy to overlook the simplest explanations. Therefore, check your cables and ports before diving into complex software settings. A faulty USB cable is a very frequent culprit. Cables endure a lot of stress from bending and plugging. Over time, the internal wires can fray or break. Consequently, try connecting the drive using a different cable. If possible, use the original cable that came with the device. Furthermore, ensure the cable is fully inserted into both the drive and the Mac.
Next, inspect the ports on your Mac and the hard drive enclosure. Dust and debris can accumulate inside ports. This buildup prevents a solid electrical connection. You can use a can of compressed air to clean the ports gently. Additionally, try using a different USB port on your computer. One specific port might be malfunctioning while others work fine. If you are using a USB hub or an adapter, remove it. Connect the drive directly to the Mac. Hubs can sometimes cause power delivery issues or data bottlenecks.
Power supply is another critical factor. Some larger external hard drives require external power sources. They draw more power than a single USB port can provide. Therefore, check if your drive has a separate power cable. Ensure it is plugged into a working wall outlet. If the drive has a power indicator light, verify that it is illuminated. If the light is off or blinking erratically, the drive is not receiving sufficient power. By eliminating these physical variables, you can focus on software solutions if the problem persists. These simple checks often resolve the issue immediately.
Adjusting Finder and System Preferences
Sometimes, the drive is connected and recognized by the system, but the interface hides it. macOS provides settings to control what appears on the desktop and in the Finder sidebar. If these settings are disabled, you might mistakenly believe the drive is broken. Consequently, you should verify your Finder preferences. First, open a Finder window. Click on “Finder” in the top menu bar and select “Settings” or “Preferences” depending on your macOS version. Navigate to the “General” tab. Here, you will see a list of items to show on the desktop. Ensure the box for “External disks” is checked.
Furthermore, you should check the “Sidebar” tab in the same preferences window. Look under the “Locations” section. Make sure “External disks” is checked here as well. This action ensures the drive appears in the left-hand navigation panel of Finder. After enabling these settings, check if your drive appears. If it was a settings issue, the drive should now be visible. This is a very simple fix that saves users a lot of unnecessary stress.
Additionally, look at your Desktop settings. If you have “Show Items” turned off, icons will not display. You can right-click on the desktop wallpaper. Navigate to “Show View Options” or simply check if “Show Items” is active. Sometimes, a cluttered desktop can hide icons behind open windows. Therefore, try minimizing all windows or using the “Clean Up” option in the View menu. If the drive still does not show up, the issue is likely deeper than just visibility settings. You must then move on to system-level utilities.
Utilizing Disk Utility for Diagnosis and Repair
Disk Utility is a powerful built-in tool on macOS. It allows you to manage and troubleshoot storage devices. If your external hard drive not showing up mac, Disk Utility is your primary diagnostic resource. You can find it by pressing Command + Space to open Spotlight Search. Type “Disk Utility” and press Enter. Once the application opens, look at the left-hand sidebar. You will see a list of all connected drives. Check if your external drive appears in this list. It might be listed under its manufacturer’s name or as “Untitled.”
If the drive is visible in Disk Utility but grayed out, it means the system sees the hardware but has not mounted it. Mounting is the process of making a file system available to the operating system. Therefore, select the grayed-out drive. Click the “Mount” button in the top toolbar. If the drive mounts successfully, it will appear on your desktop. However, if the Mount button is grayed out or fails, the file system might be corrupted. In this case, you need to use the “First Aid” feature.
First Aid is a diagnostic and repair tool similar to CHKDSK on Windows. Select the external drive from the list. Click the “First Aid” button and then click “Run.” The utility will scan the drive for errors and attempt to repair them. Do not interrupt this process. If First Aid finds errors, it will report them to you. If it successfully repairs the drive, try mounting it again. This process often resolves minor directory issues that prevent the drive from showing up. However, if First Aid reports significant corruption, you might need more advanced data recovery tools.
Addressing File System Compatibility Issues
File system compatibility is a frequent cause of drive recognition failure. macOS supports several file systems natively. These include APFS, HFS+, FAT32, and ExFAT. However, it cannot write to NTFS drives, which are standard for Windows computers. While macOS usually mounts NTFS drives in read-only mode, corruption or specific settings can prevent them from showing up at all. Furthermore, if the drive was formatted for Linux or a specialized RAID system, your Mac might not recognize the format. Consequently, the system may prompt you to initialize the drive.
If you see an error message saying “The disk you inserted was not readable by this computer,” you have a compatibility or corruption issue. Do not click “Initialize” if you have important data on the drive. Initializing will erase the data. Instead, click “Ignore” and use Disk Utility to inspect the drive. If the drive shows as “Uninitialized” or with a strange partition map, the partition table might be damaged. You would need recovery software to retrieve files before reformatting.
For drives you intend to use with both Mac and Windows, ExFAT is the recommended format. It handles large files and works on both operating systems. If you have a new drive or one with no important data, you can reformat it. Go to Disk Utility, select the drive, and click “Erase.” Choose a compatible format like APFS for Mac-only use or ExFAT for cross-platform use. This step will wipe the drive clean and create a fresh file system. This almost always resolves recognition issues caused by file system errors.
Using Terminal to Force Mount the Drive
For users comfortable with command-line interfaces, the Terminal offers advanced troubleshooting options. The Terminal can sometimes bypass graphical user interface glitches. It provides more detailed error messages. Therefore, it is a valuable tool when standard methods fail. To use Terminal, open Spotlight Search and type “Terminal.” Launch the application. You will need to use specific commands to interact with your drives. This method addresses the question of How to force mount an external hard drive on a Mac?
First, type the command diskutil list and press Enter. This command lists all connected disks and their identifiers. Look for your external drive in the list. It will usually be labeled as /dev/disk2 or similar. Identify it by its size or name. Once you have the identifier, you can attempt to mount it manually. Type the command diskutil mount /dev/diskX (replace X with your disk number). Press Enter. If the command is successful, the drive should appear on your desktop.
If the drive fails to mount, Terminal will return an error message. This message can provide clues about the problem. For instance, it might say “Resource busy” or “Invalid argument.” If the standard mount command fails, you can try diskutil mountDisk /dev/diskX. This command attempts to mount all partitions on the physical disk. If these commands do not work, the file system might be severely corrupted. Terminal is a powerful tool, but use it with caution. Typing the wrong identifier could affect your system drive. Always double-check your commands before pressing Enter.
Data Recovery and When to Seek Professional Help
If none of the above solutions work, you might be facing a severe hardware failure or critical data corruption. At this stage, your priority shifts from fixing the drive to recovering your files. Continuing to run repair tools like First Aid on a failing drive can worsen the damage. Therefore, if your data is valuable, stop troubleshooting immediately. You should consider using specialized data recovery software. Applications like Disk Drill, EaseUS, or Stellar Data Recovery can scan the drive at a deep level. They look for file signatures rather than relying on the file directory.
These recovery tools often allow you to preview files before purchasing a license. This feature helps you determine if the data is recoverable. You will need a second storage location to save the recovered files. Do not save them back onto the failing drive. However, software solutions have limitations. If the drive is physically damaged, software will not help. Signs of physical damage include strange clicking sounds, grinding noises, or a complete failure to spin up. In these scenarios, the internal components are broken.
Consequently, you should seek professional data recovery services. Companies like DriveSavers or Ontrack specialize in physical data recovery. They open the drive in a cleanroom environment to repair the hardware and extract data. This service is expensive, but it is the only option for physically failed drives. If the data is not critical, you can simply replace the drive. However, always weigh the cost of recovery against the value of your files. Prevention is always better than cure. Regular backups to the cloud or a secondary drive can save you from this stressful situation.
Frequently Asked Questions
Many users encounter similar issues when dealing with external drives. Here are answers to some of the most frequently asked questions.
Why is my external hard drive not detected?
There are several reasons for this issue. The most common cause is a faulty cable or a loose connection. Additionally, the drive might be using a file system that macOS cannot read. It could also be a power supply issue where the drive is not receiving enough electricity. Finally, the drive might have logical corruption or physical damage preventing the system from reading it.
Why isn’t my Lacie external hard drive showing up on Mac?
LaCie drives are popular among Mac users, but they are not immune to issues. If your LaCie drive is not showing up, check the Thunderbolt or USB cable connection. LaCie drives often require specific software drivers or utilities. Ensure you have the latest LaCie Toolkit installed. Also, check if the drive is formatted correctly for macOS. Some LaCie drives come pre-formatted for Windows and need reformatting for Mac use.
How to force mount an external hard drive on a Mac?
You can force mount a drive using the Terminal application. Open Terminal and type diskutil list to find the drive identifier. Then, type diskutil mount /dev/diskX (replace X with the correct number). If that fails, try diskutil mountDisk /dev/diskX. You can also try the “Mount” button in Disk Utility. If the drive is grayed out, selecting it and clicking “Mount” forces the system to attempt a connection.
Conclusion
Dealing with storage issues can be incredibly stressful. The fear of losing important documents, photos, or work files is a heavy burden. However, encountering an external hard drive not showing up mac is not necessarily a disaster. As we have explored, the solution is often simple. It might just be a dusty port or a hidden Finder setting. By following the steps in this guide, you can systematically diagnose and fix the problem. Start with the basics like checking cables and settings. Then, move on to software tools like Disk Utility and Terminal.
Remember that file system compatibility plays a major role. Ensuring your drive is formatted correctly for your Mac can prevent many future headaches. Furthermore, do not ignore the importance of a robust backup strategy. Using Time Machine or cloud storage ensures that a single drive failure does not result in data loss. If you suspect physical damage, seek professional help immediately. Do not try to force a clicking drive to work. With patience and the right approach, you can often restore access to your valuable data and get back to work.