Automatic pencil, also known as mechanical pencils, have long served as a versatile tool for writers, artists, and students alike. Their precision, convenience, and consistent performance make them a popular choice for anyone who values accuracy in their work. To get the best performance from your automatic pencil, regular maintenance is essential. This article delves into effective tips for maintaining your writing tool, ensuring that it lasts for years while providing optimal functionality.
Understanding Your Automatic Pencil: Types and Components
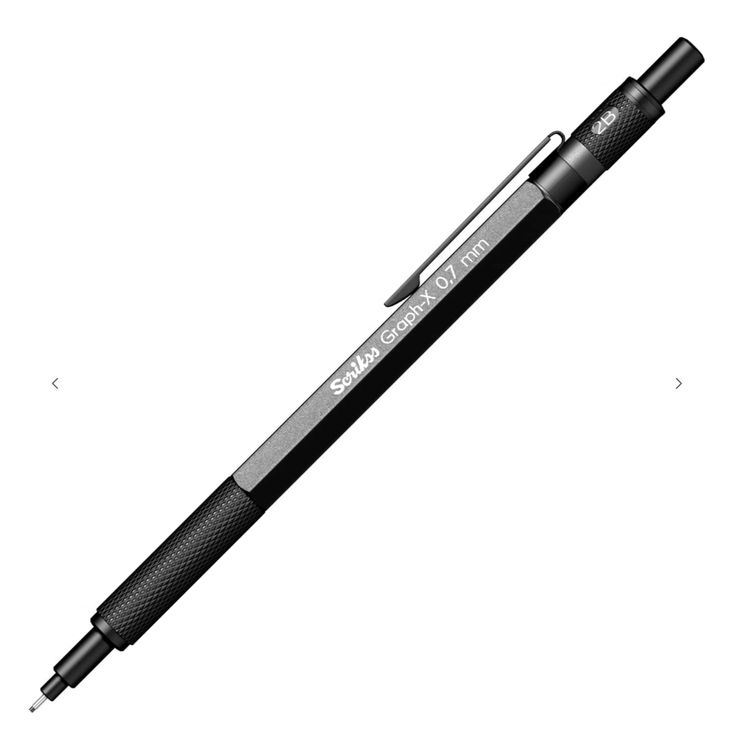
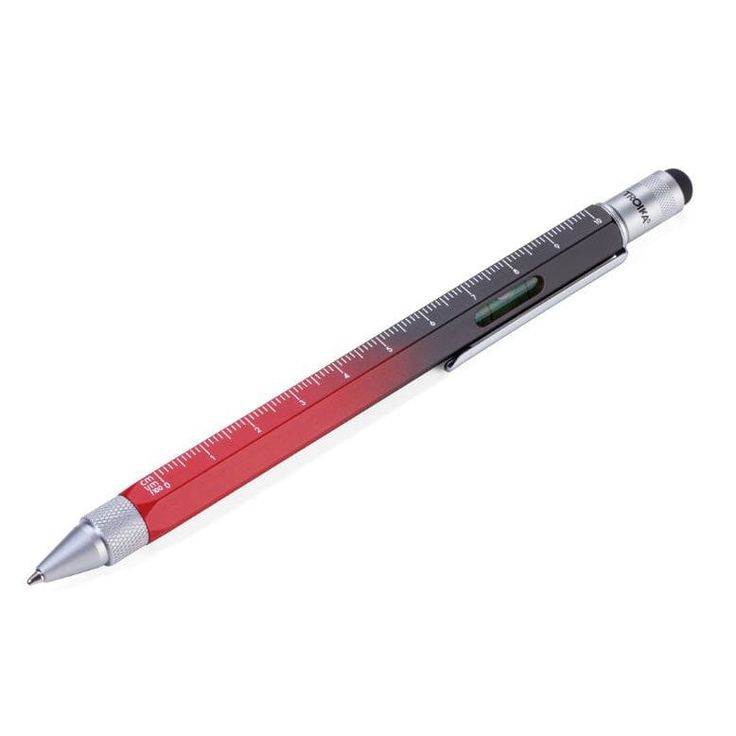
Before diving into maintenance strategies, it is crucial to understand the components of your automatic pencil. Automatic pencils come in various types, including basic models, high-end art-specific versions, and multi-functional options. Each type may include different features, such as adjustable lead sizes, erasers, and grip designs.
Most automatic pencils consist of a barrel, lead mechanism, eraser, and grip. The barrel holds the lead and guides its movement during writing or drawing. The lead mechanism advances the lead when you click or twist a certain part of the pencil. Understanding these components helps you identify what needs regular attention. Each part plays a critical role in performance; neglecting one can impact overall functionality.
By familiarizing yourself with these elements, you can better appreciate the maintenance efforts required to keep your pencil in top shape. Ensure that you choose the right lead for your intended purpose, as different leads offer varying hardness levels and textures. Doing so will enhance your writing experience while prolonging the life of your pencil.
Regular Cleaning: Keeping Your Pencil Pristine
Dust, graphite, and debris can accumulate in the small crevices of your automatic pencil. These particles can hinder the lead’s movement, affect your writing quality, and create an unsightly appearance. Regular cleaning ensures that your pencil remains functional, visually appealing, and comfortable to use.
To clean your automatic pencil, begin by disassembling it carefully. Remove the eraser, lead holder, and any other detachable parts. Use a soft cloth or a microfiber towel to wipe down the barrel, grip, and lead mechanism. Avoid harsh chemicals that may damage the plastic or metal components. If you encounter stubborn residues, lightly dampen the cloth with water and gently scrub the affected areas.
Pay particular attention to the lead holder, as any accumulation of graphite can interfere with lead advancement. A small brush or toothbrush can help dislodge particles without scratching the pencil’s surfaces. After cleaning, reassemble your pencil and test its functionality before storing it. Regular cleaning contributes significantly to maintaining a high-performing writing tool.
Lead Replacement: Choosing the Right Lead for Your Needs
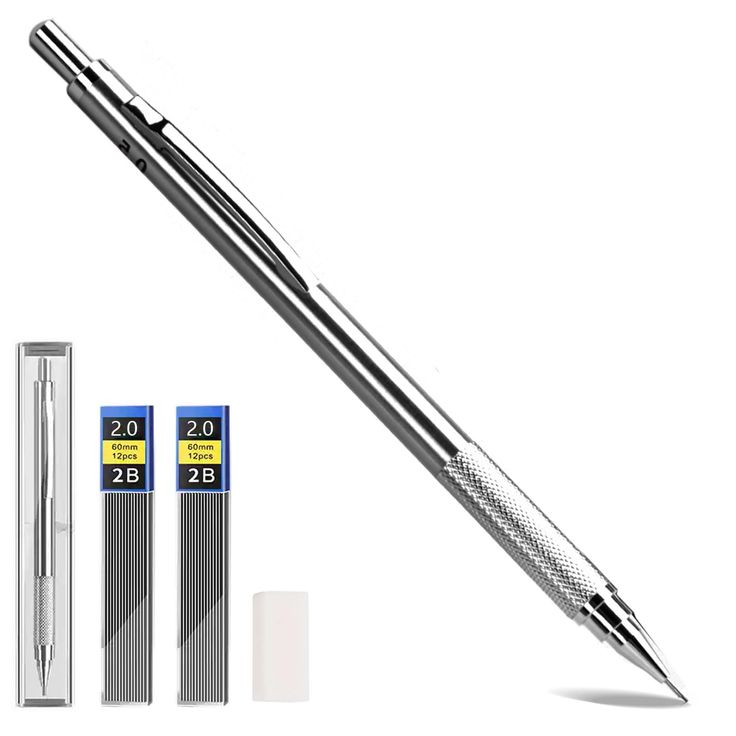
Automatic pencils use lead that comes in various diameters and hardness grades. The lead you choose affects the thickness of your lines and the precision of your writing or drawing. Understanding how to replace the lead and select the right type is a crucial aspect of maintaining your automatic pencil.
Most automatic pencils have an easy lead replacement process. Start by advancing the remaining lead using the pencil’s mechanism, then push in the lead sleeve slightly to remove it. Insert the new lead into the opening, ensuring it matches the size the pencil requires. Follow the manufacturer’s instructions on the packaging for precise lead replacement to avoid damaging the lead mechanism.
Additionally, selecting the appropriate lead is essential for optimizing your writing experience. Choose a harder lead grade (e.g., H, 2H) for finer lines and increased durability, while softer leads (e.g., B, 2B) offer darker, smoother marks but wear down faster. Many artists and designers keep a variety of lead grades on hand, allowing them to switch based on their current projects.
Eraser Maintenance: Keeping Your Automatic Pencil Functional
Many automatic pencils include built-in erasers, a convenient feature that complements writing and drawing. However, erasers can wear down or become ineffective over time. Properly maintaining your eraser will ensure that it functions well and complements your writing style.
Start by regularly inspecting the eraser for signs of wear. If you notice it has become too short or unsightly, consider replacing it. Many pencils allow you to remove the eraser easily for replacement. Choose an appropriate replacement eraser that fits your model and offers good performance. Options include standard rubber erasers or more specialized types designed for cleaner erasing.
For those who use their automatic pencils heavily, consider keeping a separate eraser handy. A high-quality eraser can enhance your ability to remove pencil marks without damaging the paper. When using the eraser, avoid applying too much pressure, as this could damage the paper and decrease the eraser’s effectiveness. Regularly assess and replace your eraser as needed to ensure optimal functionality.
Protecting Your Writing Tool: Storage Solutions
Proper storage plays a vital role in maintaining your automatic pencil. Storing it haphazardly can lead to damage, misalignment, and other functional issues. Investing in a thoughtful storage solution can help protect your automatic pencil while prolonging its longevity.
A pencil case or pouch provides excellent protection against dust and scratches. Choose a case that offers ample cushioning to prevent impacts during travel or storage. Alternatively, you might consider a pen organizer that allows easy access while keeping your writing tool safe.
If your automatic pencil has a retractable lead mechanism, ensure you retract the lead before storing it. This action minimizes the risk of lead breakage and protects the mechanism. Additionally, keep your writing instrument away from excessive heat or moisture, as these elements can degrade the materials over time. By emphasizing proper storage, you contribute significantly to your automatic pencil’s lifespan and effectiveness.
Avoiding Common Mistakes: Best Practices for Use
Understanding common mistakes can significantly affect your automatic pencil’s longevity and performance. Many users unknowingly engage in practices that may reduce their writing tool’s effectiveness. Learning these best practices can enhance your overall user experience.
First, avoid applying excessive pressure when writing or drawing. Automatic pencils require minimal force to produce clear lines, and pressing too hard can damage the lead mechanism and even result in lead breakage. Instead, let the pencil do the work by using a light touch.
Moreover, always ensure the lead is fully advanced before writing. If the lead is too short, it may break more easily during use. If you’re experiencing frequent lead breakage, reassess your technique and eliminate any excessive force. Once you establish effective writing habits, your automatic pencil will perform better and require less maintenance.
Additionally, be mindful of the surfaces you write on. Using your automatic pencil on rough or uneven paper can lead to excessive wear on the lead and even damage the pencil itself. Opt for high-quality, smooth paper, especially for intricate or detailed work, to lower the risk of damage and improve your overall writing experience.
Recognizing When to Replace Your Automatic Pencil
Even with proper maintenance, automatic pencils eventually reach the end of their lifespan. Recognizing the signs that indicate it’s time for a replacement ensures you continue to use an effective writing tool. Regularly assess your pencil’s performance and visual condition to catch any developing issues early on.
One common sign that it may be time for a new pencil is frequent lead jamming. If the lead often gets stuck, this can interfere with your writing experience. Another indicator is the grip. If the grip has worn out or feels uncomfortable, it can hinder your ability to write smoothly. Additionally, if the lead mechanism feels loose or does not function properly, consider investing in a replacement.
Physical damage is another crucial factor to assess. Cracks in the barrel or broken components can significantly affect the pencil’s usability. Continuing to use a damaged pencil may lead to more severe issues down the line, making writing frustrating rather than enjoyable.
When selecting a replacement, think about advancements in design and technology. The market continually evolves, introducing innovative products with improved performance. Explore the latest offerings to find a model that best fits your writing style and provides enhanced features for a better writing experience.
Conclusion: Elevating Your Writing Experience
Maintaining your automatic pencil increases not only its longevity but also your overall writing experience. By understanding the components, regularly cleaning, choosing the right lead, and taking care of the eraser, you ensure that your pencil remains functional and high-performing.
Implementing best practices for usage and protection not only preserves your pencil but also enhances your creativity and productivity. Recognizing the right time to replace your pencil is crucial for continuous improvement. By following these maintenance tips, you create a writing environment that fosters inspiration and satisfaction, ultimately making your automatic pencil an invaluable tool in your writing toolkit. With proper care, you can enjoy the precision and convenience of your automatic pencil for years to come.