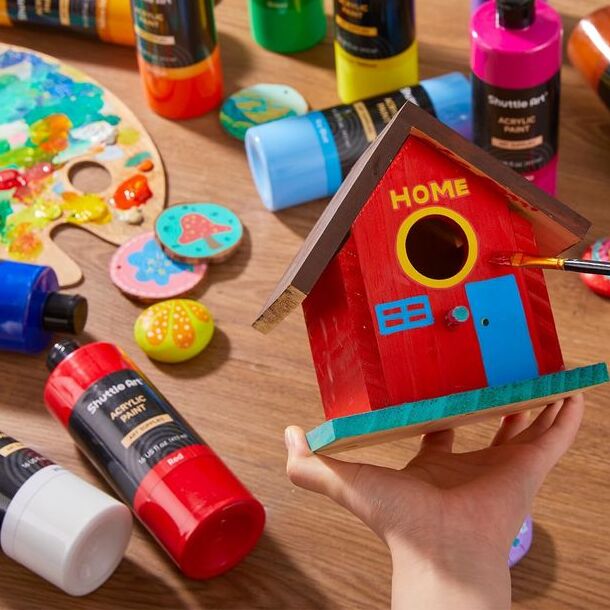
When it comes to reviving old furniture, acrylic paint offers a vibrant, durable, and versatile solution. With numerous colors and finishes available, acrylic paint allows you to personalize and enhance your furniture pieces creatively. Whether you want to bring new life to an outdated item or simply want to upgrade your home decor, using acrylic paint for furniture transforms your space beautifully. This comprehensive guide explores the benefits, techniques, and creative tips for using acrylic paint on various furniture types.
Why Choose Acrylic Paint for Furniture
Painting your furniture can change its look entirely. Acrylic paint is an excellent choice for this task. It offers versatility, durability, and an array of vibrant colors. Let’s explore why acrylic paint stands out for furniture projects.
Benefits of Acrylic Paint
Acrylic paint offers several advantages that make it an excellent choice for various projects, particularly furniture transformations.
- Quick Drying Time: One of the standout features is its quick drying time. Acrylic paint dries significantly faster than other paint types, allowing you to complete projects efficiently. This speed eliminates long waiting periods between coats, enabling you to finish your task promptly.
- Durability: Once dry, acrylic paint forms a robust surface that withstands everyday wear and tear. This characteristic makes it perfect for furniture that experiences frequent use, as it helps maintain the piece’s appearance over time.
- Ease of Use: Acrylic paint is incredibly user-friendly, even for beginners. Its excellent adhesion allows it to bond well to various surfaces, including wood, plastic, and metal. Such versatility ensures that you can use it on multiple projects without switching paint types.
- Water-Based Formula: Cleanup is hassle-free due to its water-based formula. You can easily wash off brushes, rollers, and spills with water while the paint is still wet, saving you time and effort.
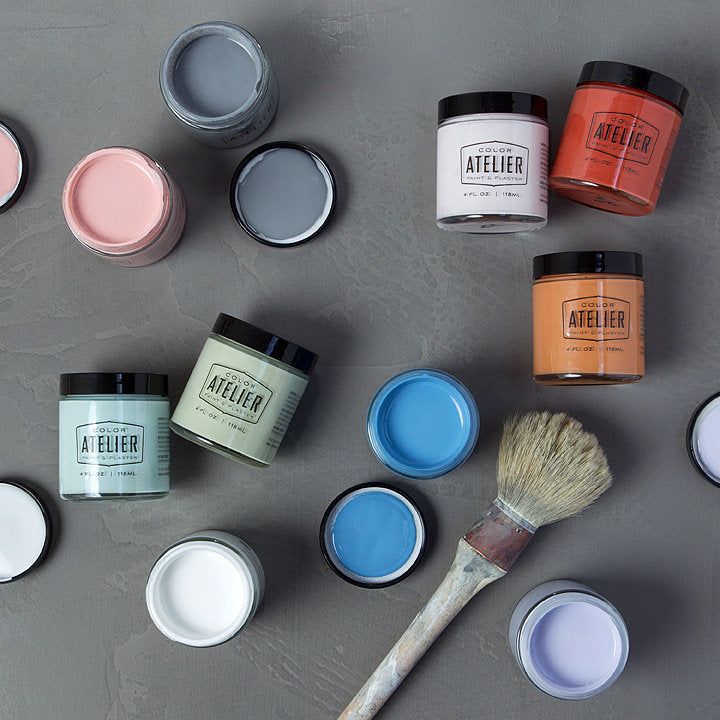
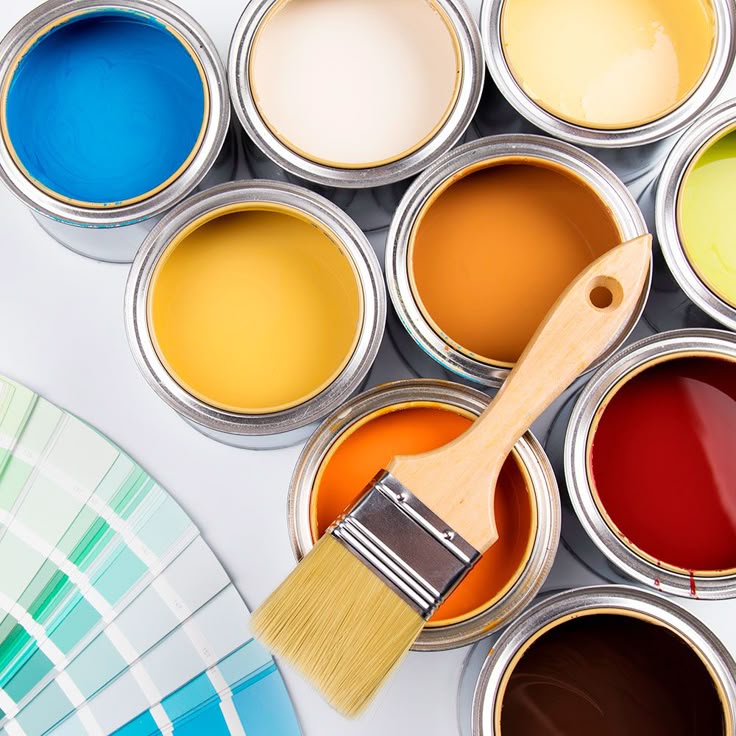
- Color Variety: Acrylic paint comes in a vast array of shades, giving you countless options for your projects. You can mix different colors to create customized hues that suit your style perfectly.
- Non-Toxic Options: Many acrylic paints are available in non-toxic formulations, ensuring they are safe for indoor use. This safety feature provides peace of mind, especially when painting in living spaces.
Acrylic Paint vs Other Paint Types
- Acrylic Paint vs Oil-Based Paint:
- Acrylic paint is water-based, while oil-based paint takes longer to dry.
- Oil paints emit strong fumes; acrylics are more environmentally friendly.
- Acrylics are easier to clean up after use.
- Acrylic Paint vs Chalk Paint:
- Acrylic paint provides a smooth finish, whereas chalk paint gives a matte, textured look.
- Acrylic paint is more durable and resistant to chipping.
- Acrylic Paint vs Spray Paint:
- Acrylic paint allows better control with brushes for detailed designs.
- Spray paint is faster for large surfaces but less precise.
If you are looking for versatility, durability, and easy application, acrylic paint is your best bet for furniture makeovers. Use it to achieve professional-looking results while customizing your furniture with your creative ideas.
Preparing Furniture for Acrylic Paint
Proper preparation is essential when using acrylic paint for furniture. It ensures smooth application and lasting results. Follow these steps to get your furniture ready for painting.
Cleaning and Sanding the Surface
Cleaning and sanding your furniture’s surface is essential for achieving a flawless paint finish.
- Clean Thoroughly: Start by using a mild soap and water solution to clean the surface. Make sure to remove all dirt, grease, and stains. This preparation step is crucial for proper paint adhesion.
- Dry Completely: After cleaning, allow the furniture to dry completely. Moisture can lead to adhesion issues, causing the paint to peel or chip in the future.
- Sand the Surface: Next, lightly sand the surface with medium-grit sandpaper. Sanding creates tiny grooves that help the paint adhere better, ensuring a more durable finish.
- Wipe Off Dust: Finally, use a clean, damp cloth to wipe away any sanding dust. This action ensures a clean surface for painting, helping you achieve a smooth and professional-looking result. Taking these steps perfectly prepares your furniture for painting.
Priming Furniture for Best Results
- Choose the Right Primer: Select a primer compatible with acrylic paint. Primers improve paint adhesion and color vibrancy.
- Apply Primer Evenly: Use a brush or roller to apply a thin, even coat of primer.
- Follow Drying Time: Let the primer dry completely based on the manufacturer’s instructions.
- Inspect the Surface: Check for imperfections. Sand lightly and re-prime if necessary to ensure smoothness.
By cleaning, sanding, and priming properly, you create the ideal base for acrylic paint. These steps ensure a professional finish and long-lasting results for your furniture.
Step-by-Step Guide to Painting Furniture with Acrylic Paint
Painting furniture with acrylic paint is a simple and creative process. Follow these steps for a flawless outcome.
Selecting the Right Brushes and Tools
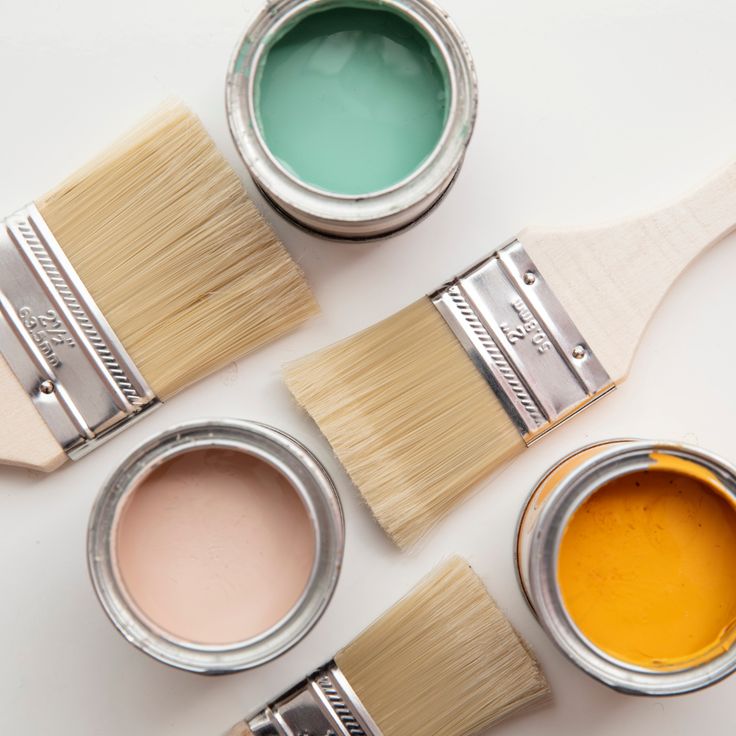
- Pick Quality Brushes: Use synthetic brushes for smoother application with acrylic paint.
- Use Rollers for Larger Areas: Foam rollers help cover large surfaces quickly and evenly.
- Invest in Small Detail Brushes: Fine-tipped brushes work well for intricate designs and edges.
- Keep a Palette Knife Handy: It’s useful for mixing colors or applying paint in creative ways.
- Prepare Other Tools: Include sandpaper, a clean cloth, and painter’s tape in your toolkit.
Applying the First Coat and Layering Techniques
- Start with a Thin First Coat: Apply a light, even base layer of acrylic paint.
- Allow Adequate Drying Time: Let the first coat dry completely before adding additional layers.
- Sand Between Coats (Optional): For an ultra-smooth finish, lightly sand the dried first coat.
- Apply Multiple Thin Layers: Build up the color gradually through thin, even coats to avoid streaks or clumps.
- Use Consistent Strokes: Paint in the same direction for a clean, uniform appearance.
- Blend for Depth and Texture: Mix and layer colors creatively for a unique, custom look.
By selecting the right tools and following key techniques, you’ll achieve a professional finish. Layering acrylic paint carefully ensures durability and vibrant results for your furniture projects.
Tips for Achieving a Professional Finish
Getting a polished look when painting furniture with acrylic paint requires attention to detail. These tips will help you achieve smooth, stunning results with ease.
Avoiding Brush Marks and Uneven Coverage
- Use High-Quality Brushes: Invest in soft, synthetic brushes to minimize streaks and marks.
- Maintain Consistent Pressure: Apply even pressure while painting for smoother coverage.
- Load Brushes Properly: Avoid overloading the brush with paint. Excess paint leads to blotchy application.
- Thin Out Thick Paint: Add a small amount of water if the paint feels too thick.
- Paint in One Direction: Brush in the same direction to avoid overlaps and uneven sections.
- Work Slowly on Details: Focus on edges and corners where streaks are more likely to appear.
Drying and Curing Acrylic Paint Effectively
- Ensure Proper Ventilation: Paint in a well-ventilated area to speed up drying.
- Follow Manufacturer Recommendations: Check the drying time listed on your paint for optimal results.
- Let Each Layer Dry Fully: Allow full drying between coats to prevent smudging.
- Avoid Excess Humidity: Paint in dry conditions to avoid delays in drying.
- Cure Paint for Long-Term Durability: Let the painted furniture sit for 72 hours after finishing to fully cure.
- Keep Furniture Dust-Free: Ensure surfaces are clean during drying to avoid imperfections.
By preventing brush marks and ensuring proper drying, your furniture will look professional and refined. Acrylic paint’s vibrant finish, combined with these techniques, guarantees long-lasting beauty.
Sealing and Protecting Painted Furniture
After painting your furniture with acrylic paint, sealing it is essential. Proper sealing not only enhances the appearance but also increases the durability of your work. It protects the painted surface from wear and tear, ensuring long-lasting results. Let’s explore how to seal and protect painted furniture effectively.
Choosing the Right Sealant
- Select Based on Shine: Choose a sealant that matches your desired finish—matte, satin, or glossy.
- Opt for Acrylic-Compatible Sealers: Ensure the sealant works well with acrylic paint to avoid peeling.
- Use Water-Based Sealers: Water-based sealants are safer for indoor use and easier to clean.
- Consider Spray Sealants for Ease: Spray sealers provide quick and even application for smooth coverage.
- Test Before Full Application: Apply the sealant on a small area to check its compatibility.
Enhancing Durability and Longevity
- Apply Multiple Thin Layers: Use several light coats of sealant for better protection.
- Follow Manufacturer Instructions: Drying times vary; follow guidelines to ensure proper curing.
- Clean Before Sealing: Ensure the furniture is dust-free to avoid trapping debris.
- Avoid Excess Humidity: Seal furniture in dry conditions to ensure smooth application.
- Keep Painted Areas Safe: Protect sealed surfaces from water or damage during the curing process.
- Re-Seal Periodically: Refresh the sealant every few years for continued protection and shine.
Sealing your furniture ensures all your hard work lasts longer. It also provides a polished, professional look that will keep your pieces vibrant and protected for years to come.
Creative Ideas for Using Acrylic Paint on Furniture
Acrylic paint opens up a world of creative possibilities for furniture transformation. You can use different techniques, patterns, and color combinations to design truly unique pieces. Let’s explore some inspiring ideas to elevate your furniture projects.
Techniques for Unique Designs and Patterns
- Stenciling: Use stencils to create intricate shapes or motifs on your furniture.
- Geometric Patterns: Paint bold stripes, triangles, or grids for a modern, eye-catching look.
- Ombre Effect: Blend shades gradually for a smooth color transition on larger surfaces.
- Dry Brushing: Apply a small amount of paint and lightly brush for a weathered, rustic look.
- Splatter Art: Flick paint onto the surface for a fun, abstract design.
- Layering Textures: Combine techniques like sponging or stippling to add depth and texture.
Mixing Colors and Finishes for Custom Looks
- Color Blending: Mix acrylic paints to create unique shades that match your decor.
- Pair Contrasting Colors: Combine bold and neutral colors for a striking design.
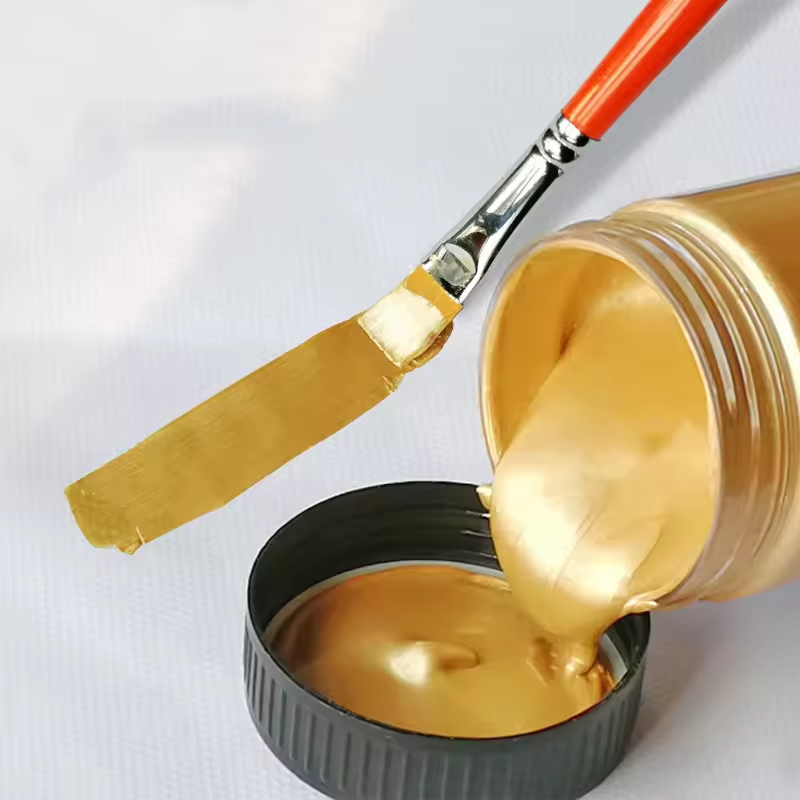
- Metallic Accents: Incorporate metallic acrylics for an elegant touch.
- Glossy and Matte Finishes: Mix finishes to create dynamic textures and visual interest.
- Tonal Harmony: Create a monochromatic look using various tones of the same color.
- Highlight Details: Use accent colors to emphasize edges, handles, or carvings.
By experimenting with techniques and color combinations, you can transform old furniture into stunning pieces. Acrylic paint’s versatility ensures every project feels customized and one-of-a-kind.
Common Mistakes to Avoid When Using Acrylic Paint
Acrylic paint for furniture offers excellent results, but mistakes can affect its finish and durability. Learning what to avoid will ensure success in your DIY projects.
Overloading Paint and Frequent Errors
- Applying Too Much Paint at Once: Thick layers lead to streaks and uneven drying.
- Skipping Thin Coats: Avoid heavy application; use thin layers for a smooth finish.
- Neglecting Brush Maintenance: Dirty brushes can cause streaks or uneven texture.
- Uneven Paint Loading: Load the brush evenly to prevent blotches and drips.
- Rushing Drying Time: Not letting paint dry fully before the next coat causes smudges.
- Ignoring Tools for Details: Not using the right brush affects precision for edges and corners.
Missteps in Preparation and Finishing Touches
- Skipping Sanding: Failing to sand the surface results in poor paint adhesion.
- Overlooking Cleaning: Dirt and grease impact how well the paint sticks to furniture.
- Skipping Primer Application: Without primer, paint may chip or peel over time.
- Using the Wrong Sealant: Incompatible sealers can damage your acrylic paint finish.
- Sealing Too Soon: Sealing before full curing can trap moisture, causing bubbles or cracks.
- Ignoring Ventilation: Painting in enclosed areas slows down proper drying and curing.
By avoiding these mistakes, you’ll achieve a flawless and professional-looking finish. Careful preparation, paint application, and sealing are key to successful furniture transformations with acrylic paint.
Conclusion: Embracing Transformation with Acrylic Paint
Acrylic paint for furniture presents an exciting opportunity to transform your living space beautifully. Its numerous benefits, ease of use, and vast range of colors allow anyone to achieve stunning results, regardless of skill level. Through careful preparation, application, and maintenance, homeowners can breathe new life into old or uninspired pieces, reflecting their unique personality and style.
Whether you choose to embrace bold colors, intricate stencils, or a subtle distressed look, the possibilities with acrylic paint are endless. By following the steps outlined in this guide, you can confidently embark on your furniture transformation journey, turning ordinary items into extraordinary focal points in your home. Embrace the transformative power of acrylic paint and unleash your creativity today!