Getting Started with Acrylic Paint
Acrylic paint is versatile and beginner-friendly. Before starting, gather the right tools and materials. Proper preparation ensures smoother painting sessions and better results.

Essential Tools and Materials
To begin painting with acrylics, stock up on these essentials:
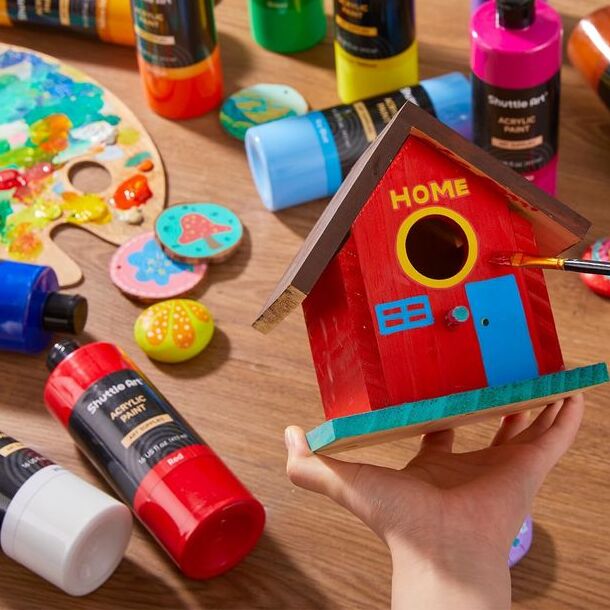
- Acrylic Paints: Choose quality paints with rich pigments for vibrant and lasting colors. Student-grade paints work well for beginners.
- Brushes: Invest in brushes of various shapes and sizes. Round brushes, flat brushes, and detail brushes are ideal choices.
- Palette: Use a palette to blend your paints. Plastic, ceramic, or disposable palettes work well.
- Water Container: Keep a container of clean water to rinse brushes and adjust paint consistency.
- Paper Towels: Use these to blot brushes and manage messes while painting.
- Canvas or Painting Surface: Select a sturdy surface, such as a canvas, wood panel, or thick paper.
- Apron: Protect your clothing from spills by wearing an apron or old clothes.
Organize your tools for easy access during your project. Quality materials will enhance your painting.
Choosing the Right Paint and Brushes
Selecting the right paint and brushes is crucial. Here’s how to make informed choices:
- Acrylic Paint Types: Decide between heavy-body or fluid acrylics. Heavy-body paints offer opaque coverage, while fluid acrylics are thinner and better for glazes.
- Paint Brands: Popular brands include Liquitex, Golden, and Winsor & Newton. Check reviews and test samples for best results.
- Brush Types: Choose synthetic brushes for acrylics, as natural bristles may degrade in water.
- Flat Brushes: Great for bold strokes and backgrounds.
- Round Brushes: Ideal for detailed lines and delicate shading.
- Detail Brushes: Perfect for small, intricate designs.
- Size Variety: Have small, medium, and large brushes in your set to handle different parts of your artwork.
Investing in reliable acrylic paints and brushes sets the foundation for successful and enjoyable painting sessions.
Preparing Your Surface for Painting
Prepping the painting surface is essential for great acrylic paint results. A well-prepared surface ensures better paint adhesion and longevity.
Cleaning and Priming Your Canvas
- Clean the Surface: Remove dust and debris using a clean, dry cloth. This ensures a smooth base.
- Apply Gesso: Gesso is a primer that creates an ideal surface for acrylic paint. Use a flat brush to apply it evenly.
- Apply thin, even layers and let each layer dry completely.
- For a smoother finish, sand the canvas lightly between applications.
- Consider Pre-Primed Canvases: If you prefer convenience, buy canvases pre-primed with gesso.
Priming adds texture and helps paint adhere more effectively. It also prevents your paint from soaking into the surface.
Selecting the Best Surface for Your Project
Acrylic paint works on multiple surfaces. Choose one based on your project:
- Canvas: The most popular choice for its durability and texture. Use stretched or canvas boards.
- Wood Panels: Great for thicker applications and textured art. Sand and prime before use.
- Paper: For sketches or detailed work, choose heavyweight or acrylic-specific paper.
- Glass or Metal: Acrylic sticks here if prepared using appropriate primers.
- Fabric: Use fabric-specific acrylic paint for wearable art or custom designs.
Selecting the right surface enhances your painting’s outcome. Experiment to find what works best for your style.
Techniques for Applying Acrylic Paint
Mastering the techniques of applying acrylic paint enhances your creative possibilities. Whether you’re a beginner or experienced, understanding these methods is essential. Below are some foundational skills to elevate your artwork.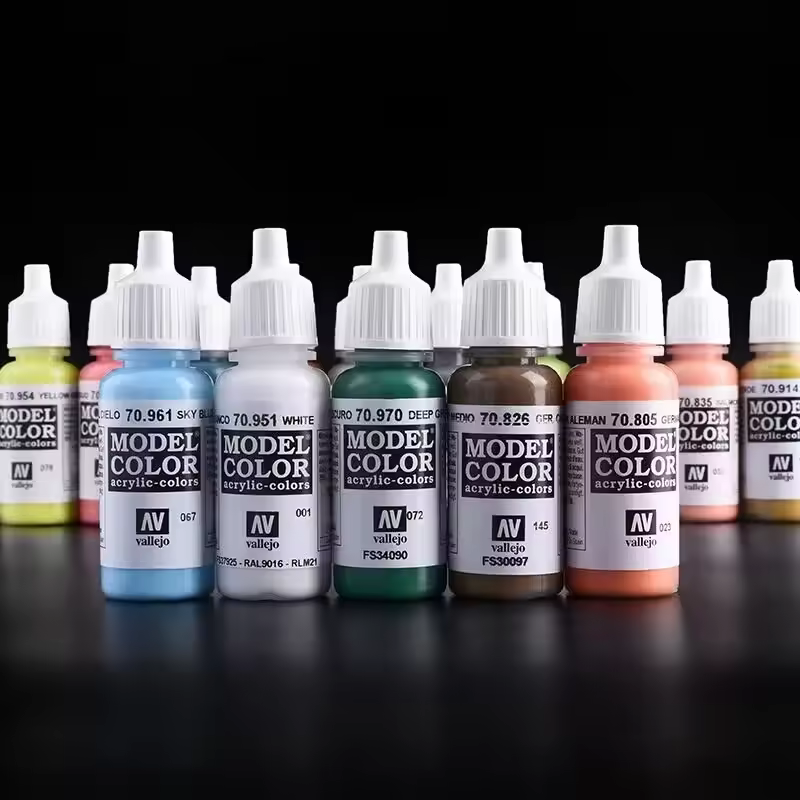
Blending Colors Effectively
Blending acrylic colors seamlessly can bring your artwork to life. Follow these tips for smooth blends:
- Work Quickly: Acrylic paint dries fast. Blend colors while the paint is still wet.
- Use a Damp Brush: A slightly damp brush helps merge colors without harsh lines.
- Practice Wet-on-Wet Technique: Apply wet paint over wet layers for smooth transitions.
- Feather the Edges: Use gentle strokes to soften harsh edges between colors.
- Experiment on a Palette: Test color blending on your palette before applying it to your artwork.
Blending takes practice, so be patient and experiment often for better results.
Using Layers for Depth and Texture
Creating depth and texture with layers enriches your artwork. Here’s how to use layering effectively:
- Build Gradually: Start with thin, light layers. Add more layers as needed for depth.
- Let Layers Dry: Allow each layer to dry completely before adding the next.
- Use Different Techniques: Combine techniques like dry brushing and glazing for unique textures.
- Add Highlights and Shadows: Use lighter and darker tones to create a sense of dimension.
- Incorporate Mediums: Gel and modeling paste can add texture and adjust paint thickness.
Layering creates intricate details and makes your work visually dynamic. Experiment to find your style.
Practicing these techniques boosts your confidence and helps you achieve professional-looking paintings.
Tips for Mixing and Customizing Colors
Mixing and customizing colors is a crucial skill for acrylic painting. It helps expand your color palette and achieve unique shades.
Understanding Color Theory
- Learn Primary Colors: Red, blue, and yellow form the base of all colors.
- Create Secondary Colors: Mix primary colors to make secondary ones, like green, purple, and orange.
- Understand Tertiary Colors: Blend primary and secondary colors for more subtle shades.
- Know Warm and Cool Colors: Warm colors (red, yellow, orange) feel vibrant. Cool ones (blue, green, purple) are calming.
- Study Complementary Colors: Colors opposite each other on the color wheel create contrast when combined.
- Neutralize Colors: Mixing complementary colors softens their brightness for muted tones.
Understanding the basics of color theory makes mixing paints much easier.
How to Mix Paints Precisely
- Use a Palette: Mix paint on a clean palette for better control.
- Start with Small Quantities: Add small amounts of paint to avoid waste.
- Combine Gradually: Blend colors slowly for accuracy. Adjust as needed.
- Test Samples: Test mixed shades on scrap paper before using them.
- Keep Notes: Record your formulas for consistent results next time.
- Experiment with White and Black: Add white for lighter tones and black for darker shades.
- Use Mediums: Acrylic mediums can change transparency or consistency during mixing.
Precise mixing can improve your painting, making your artwork rich and unique. Practice often and stay experimental.
Drying and Finishing Acrylic-based Artworks
Finishing your acrylic painting is essential for durability and visual appeal. Proper drying and finishing practices ensure your artwork lasts.
Managing Dry Times with Acrylics
- Understand Acrylic Drying Time: Acrylic paint dries fast, usually within 10-30 minutes per layer.
- Use Thin Layers: Thin layers dry faster and reduce chances of cracking.
- Work in a Ventilated Area: Good air circulation speeds up drying.
- Avoid Excess Heat: Too much heat can cause uneven drying or cracks.
- Use Retarders: Retarders extend the drying time for blending or fine detailing.
- Cover with a Lid or Plastic: Protect your palette to prevent paint from drying out prematurely.
Proper drying practices ensure your painting stays smooth and free from flaws.
Adding Protective Coatings
- Seal Your Artwork: Use a varnish to protect the surface from dust, UV, and scratches.
- Choose the Right Varnish: Options include gloss, matte, or satin for different finishes.
- Let the Paint Fully Cure: Allow the painting to cure for at least 24-48 hours before varnishing.
- Apply Thin, Even Coats: Use a soft brush or spray for smooth application.
- Work in a Dust-Free Space: Ensure no debris adheres to the varnish while drying.
- Test First: Test the varnish on a small area or sample artwork.
Adding a protective coating enhances the appearance and longevity of your acrylic masterpiece.
Common Mistakes and How to Fix Them
Even experienced artists face challenges when working with acrylic paint. Understanding common mistakes and their solutions improves your work.
Avoiding Paint Cracking
Paint cracking occurs when acrylic layers dry unevenly or are too thick.
- Apply Thin Layers: Use thin coats of paint to prevent uneven drying.
- Let Layers Dry Fully: Allow each layer to dry completely before adding the next.
- Avoid Overloading Water: Too much water weakens paint bonding. Use acrylic mediums instead.
- Prime the Surface Well: Use gesso to prepare and stabilize the canvas before painting.
- Keep Even Temperatures: Avoid extreme heat or cold while your painting dries.
- Test on Scraps: Experiment with paint thickness on spare boards before working on your main piece.
Preventing cracks ensures a smooth finish and keeps your artwork durable.
Fixing Blending Errors
Improper blending can make transitions between colors look harsh and unpolished.
- Blend Fast: Work quickly since acrylic dries fast, making blending harder over time.
- Use a Damp Brush: A damp brush softens edges and creates seamless gradients.
- Repaint Over Mistakes: Let the area dry, then carefully repaint the imperfect section.
- Practice Feathering: Use light strokes to merge two colors effectively.
- Add Retarders: Use slow-drying mediums to extend acrylic’s blending time.
- Start on a Test Surface: Practice blending techniques on scrap surfaces before applying them to your artwork.
Effortless blending enhances the depth and harmony of your paintings.
Learning how to avoid and correct mistakes prepares you for stronger creative outcomes with acrylic paint.
Expanding Your Skills: Advanced Acrylic Techniques
Once you’ve mastered the basics, it’s time to explore advanced acrylic techniques. These methods help unlock new creative possibilities and elevate your artwork to the next level. Below are two highly effective approaches to refine your acrylic painting skills.
Using Acrylic with Mixed Media
Combining acrylic paint with other media creates unique and visually interesting pieces. Here’s how you can get started:
- Add Collage Elements: Glue pieces of paper, fabric, or photographs to your painting surface. Then, paint over or around them to blend with your artwork.
- Include Drawing Media: Use pencils, charcoal, or markers to add details or outlines over dried acrylic paint.
- Experiment with Inks: Layer acrylics with waterproof or alcohol-based inks for bold designs and sharp lines.
- Use Oil Pastels: Apply oil pastels over dried acrylic paint to add soft, vibrant highlights.
- Combine with Textured Materials: Incorporate textured elements like sand, string, or gel mediums to create tactile effects.
Mixed media offers endless ways to express your ideas and develop a unique art style. Practice combining materials to see what works best for your vision.
Exploring Textures and Special Effects
Textures and special effects can bring life to your acrylic paintings. Use the following methods to add depth and interest:
- Apply Impasto: Use a palette knife to apply thick layers of paint. This creates dramatic, textured strokes.
- Experiment with Stippling: Use a stiff brush or sponge to dab paint, adding small dots or grain-like textures.
- Use Salt or Alcohol: Sprinkle salt onto wet paint for crystallized textures or apply alcohol drops for organic effects.
- Try Sgraffito: Scratch into wet paint with a tool to reveal colors or create sharp designs underneath.
- Incorporate Acrylic Mediums: Use modeling paste for heavy textures or glazing medium for transparent layers.
- Create Splatter Effects: Flick your brush or use a toothbrush to splatter paint, adding energy and vibrancy.
Textures and effects make your paintings more dynamic and engaging to the viewer. Experiment to find combinations that match your artistic goals.
By exploring mixed media and texture techniques, you expand both your skills and creative possibilities with acrylic paint.