Liquid watercolor paint offers artists a fluid medium that transforms blank canvases into vibrant masterpieces. This versatile paint type adapts well to various techniques, but mastering the art of color blending can elevate your work to new heights. By understanding the science behind color theory, practicing various blending methods, and utilizing the right tools, you can create stunning effects in your artworks. In this article, we will explore how to blend colors like a professional using liquid watercolor paint.
Understanding the Basics of Liquid Watercolor Paint
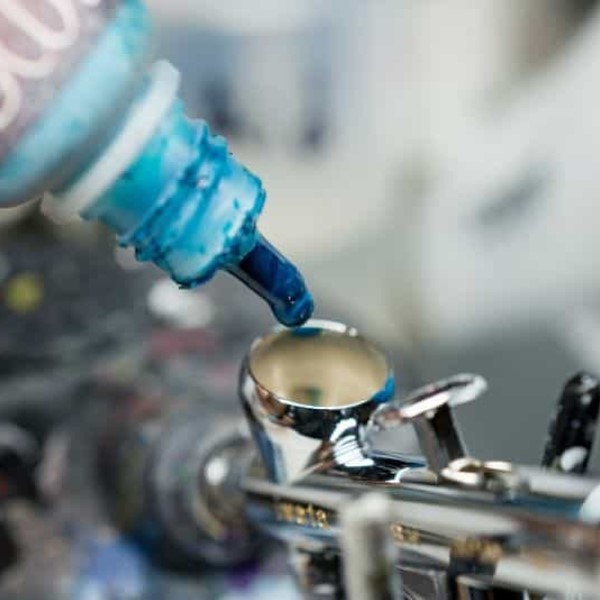
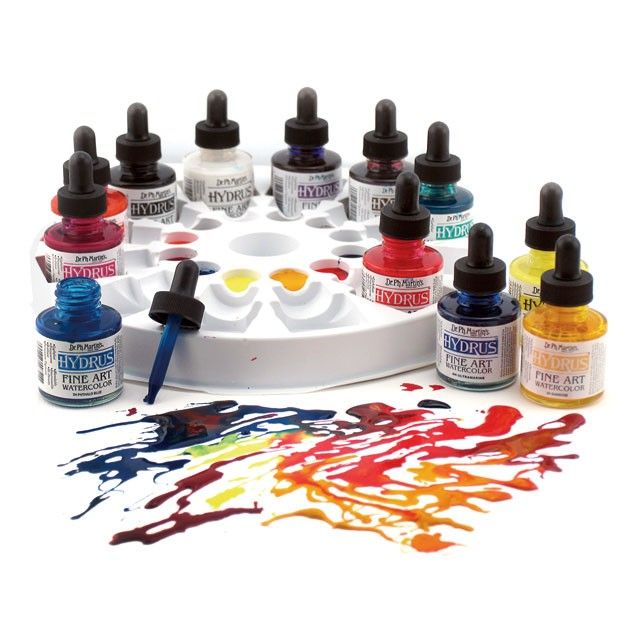
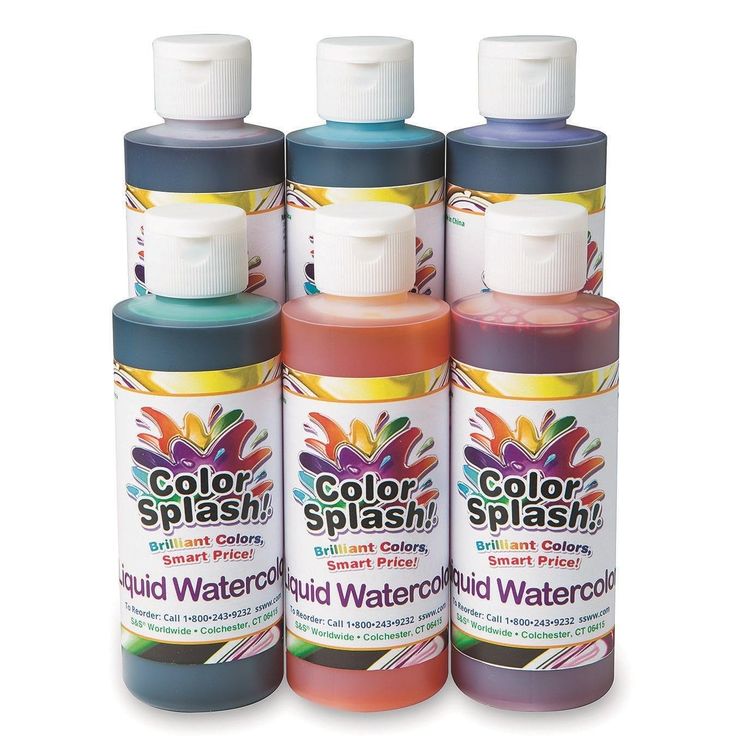
Before diving into blending techniques, grasp the basic characteristics of liquid watercolor paint. Unlike traditional watercolor in pans, liquid watercolors come in bottles and have a consistent fluidity that allows for smoother application. This paint is highly pigmented, providing a vibrant color payoff. Liquid watercolor paint also mixes well with water, enabling artists to achieve various shades and intensities.
One significant advantage of liquid watercolors lies in their versatility. You can use them on multiple surfaces, including watercolor paper, canvas, or even fabric. Before blending, familiarize yourself with your selected paint’s properties. Different brands may vary in transparency, pigment concentration, and drying time. Conduct tests to see how the colors interact with each other before committing to larger projects. By understanding these fundamentals, you create a solid foundation for your blending technique.
Exploring Color Theory Fundamentals
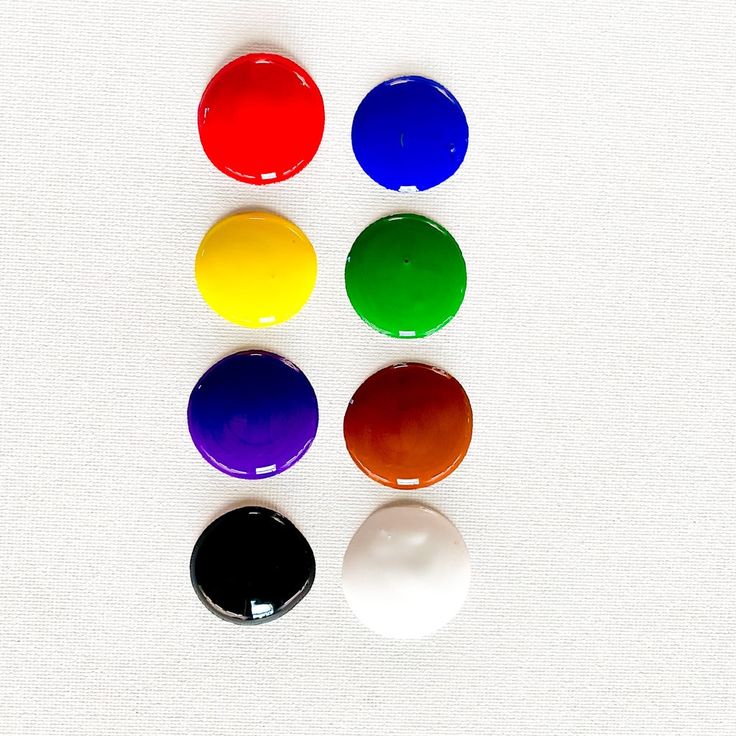
Blending colors effectively relies heavily on understanding color theory. The color wheel is an essential tool that provides valuable insight into how colors interact. Primary colors—red, blue, and yellow—serve as the basis for mixing secondary colors: green, orange, and purple. Tertiary colors emerge from combining primary and secondary colors, creating endless possibilities for your palette.
When blending with liquid watercolor paint, consider the relationships between colors. Analogous colors—those located next to each other on the color wheel—work harmoniously together. For example, combining blue and green will yield a smooth transition, creating appealing gradients. On the other hand, complementary colors—colors opposite each other on the color wheel—offer striking contrasts. Blending red and green creates dynamic tension, ideal for vivacious artworks.
Understanding color value and saturation is also critical. Lightening a color requires adding water or a lighter hue, while darkening involves adding a darker shade. By combining these techniques, you achieve depth and dimension in your work. Remember, color blending isn’t just about creating new hues; it’s also about manipulating contrast and harmony to evoke emotion in your art.
Essential Tools for Blending Liquid Watercolor Paint
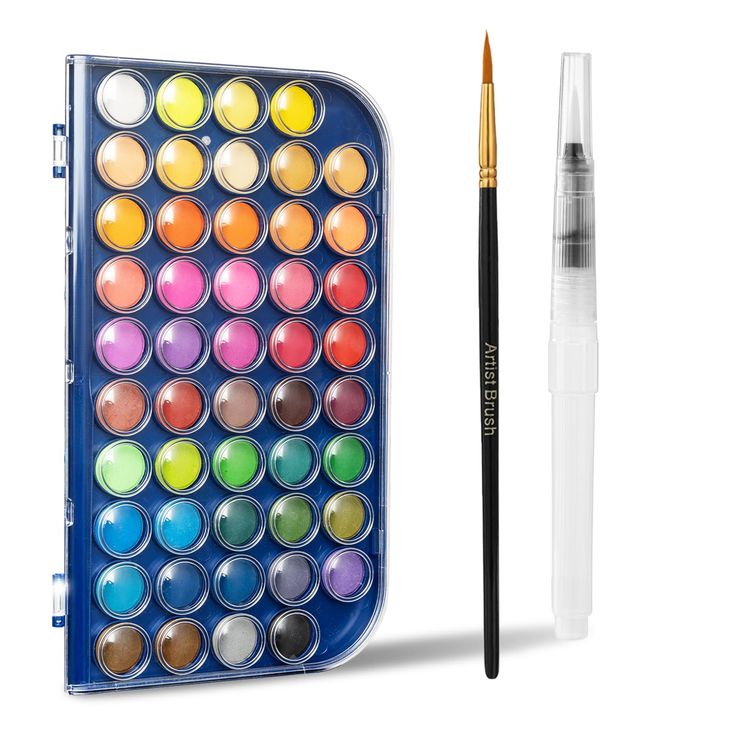
To achieve professional-level blending with liquid watercolor paint, you need the right tools. First and foremost, select quality brushes that suit your style. Soft, synthetic brushes work well with liquid watercolors, allowing for smooth application and easy blending. Brushes with varying shapes—flat, round, and filbert—each serve unique purposes in achieving different effects.
Additionally, choose a proper palette for your mixing needs. A plastic or ceramic palette with wells can help you easily combine colors and allocate space for individual hues. Be sure to use a separate section for water to maintain a clean mixing area.
Another essential tool is a spray bottle filled with water. This tool will help keep your paint moist and workable, allowing for extended blending time. Keeping your paints hydrated aids in achieving softer transitions and preventing hard lines in your artwork.
Lastly, don’t overlook the importance of quality watercolor paper. Invest in a good sheet that can handle liquid applications without warping. Cold-press watercolor paper, characterized by its textured surface, allows for unique blending techniques, while hot-press paper offers a smoother finish. Choose the one that aligns with your artistic vision.
Techniques for Blending Colors Smoothly
Once you have your materials ready, dive into various techniques for achieving smooth blends with liquid watercolor paint. One popular method is the wet-on-wet technique. Start by applying a wash of clean water to your paper, then introduce your first color. The paint will spread and mingle, creating soft edges and gradual transitions. To add a second color, drop it into the wet area, allowing the colors to blend gently without hard lines.
Another useful technique is the wet-on-dry method. Apply your base color to dry paper, then use a moist brush to pick up a second color. Lightly drag the wet brush toward the base color, allowing the paint to bleed and blend seamlessly. This approach offers more control, letting you create more defined shapes and blended areas without compromising your design’s clean lines.
Consider the glazing method to enhance depth and saturation without overloading your paper with too much pigment. First, lay down a light base color layer and let it dry. Then, use a clean brush soaked in a different hue to apply a transparent layer over the dried paint. The result is a rich, luminous blending effect that creates dimension and excitement within your artwork.
Creating Stunning Gradients with Blending
One of the most captivating aspects of liquid watercolor paint is the ability to create stunning gradients that draw viewers into your artwork. Gradients occur when colors transition seamlessly from one to another, often capturing dynamic light and shadows. To master this technique, start by selecting a color combination that intrigues you.
Begin with a light wash of your first color applied to one edge of your canvas. Gradually add water to your paint to achieve a thinner consistency and, as you blend, manipulate the intensity of the hue. Next, apply your second color at the opposite edge, also diluted with water. The key to a beautiful gradient lies in the transition; where the two colors meet, gently blend them with a clean, wet brush to create a harmonious fusion.
Practice this technique with different colors to see how they interact with one another. You will notice how certain combinations yield more vibrant or subdued gradients. Keeping a sketchbook handy allows you to experiment freely with color transitions, refining your skills until you achieve the perfect gradients in your final pieces.
Troubleshooting Common Blending Issues
Even experienced artists may encounter challenges when blending liquid watercolor paint. Recognizing common issues allows you to adapt techniques for smoother blends. One common problem is muddying—a situation where your colors mix to create unintended dark or neutral hues. To avoid this, clean your brush frequently and keep separate palettes for various color groups. Work with analogous colors to prevent mixing that leads to muddiness.
Another issue may arise from excessive use of water. While water helps with blending, over-saturation can lead to runs or uncontrolled bleed. Focus on the moisture level of your brush and paper, and strike a balance that promotes a beautiful blend without excess.
If you notice hard lines in your blending, reintroduce a damp brush to soften the transitions. Alternatively, try the wet-on-wet technique if you want smoother outcomes in future projects. Always remember that blending techniques may require practice and experimentation; don’t hesitate to revisit your process and adjust your approach as needed.
Taking Your Blending Skills to the Next Level
Once you feel comfortable with blending colors using liquid watercolor paint, consider how to elevate your skills further. Exploring mixed media by combining liquid watercolors with other materials, such as ink, acrylics, or pastels, can result in exciting textures and effects. Layering mediums can add depth and complexity, inviting viewers to engage with your art on multiple levels.
Additionally, experiment with unconventional blending tools. Items like sponges, cloths, or even fingers can introduce unique textures when applied to your paintings. Using a sponge to dab colors can create intriguing organic patterns, while your fingers may produce soft blending effects that brushes cannot achieve.
Lastly, seek inspiration from other artists and their methods. Online platforms, workshops, and art communities provide endless avenues for learning from diverse approaches. Analyze the techniques used by your favorite artists, and incorporate elements that resonate with your style. Remember, artistry evolves through experimentation, so embrace the journey of growth.
Conclusion: Mastering Color Blending with Liquid Watercolor Paint
In conclusion, blending colors like a pro with liquid watercolor paint involves understanding the properties of your medium, mastering color theory, and utilizing the right techniques and tools. Familiarizing yourself with various blending methods, such as wet-on-wet and wet-on-dry techniques, empowers you to create stunning artworks that leave a lasting impression.
As you navigate the blending process, don’t hesitate to troubleshoot any challenges you encounter. Through practice and exploration, you develop the skills necessary to achieve breathtaking gradients, smooth transitions, and professional-level artistry. By taking your blending skills to the next level, you open the door to endless creative possibilities.
Liquid watercolor paint isn’t just a medium; it’s a transformative tool that unlocks your artistic potential. So gather your supplies, immerse yourself in the world of liquid watercolors, and explore the beautiful techniques that will propel your art into new realms of brilliance.