The Importance of Properly Diluting Airbrush Paint
When it comes to airbrushing, achieving the right consistency for your paint is crucial to ensure smooth application and optimal results. Knowing how to dilute airbrush paint properly can make a significant difference in the quality of your work. Whether you’re a novice or an experienced artist, understanding the balance between dilution and paint thickness can help in executing your creative vision. In this article, we will explore different methods of dilution, focusing on using water versus commercial thinners for airbrush paint in 2025 and beyond.

Understanding Paint Consistency
The Basics of Paint Viscosity
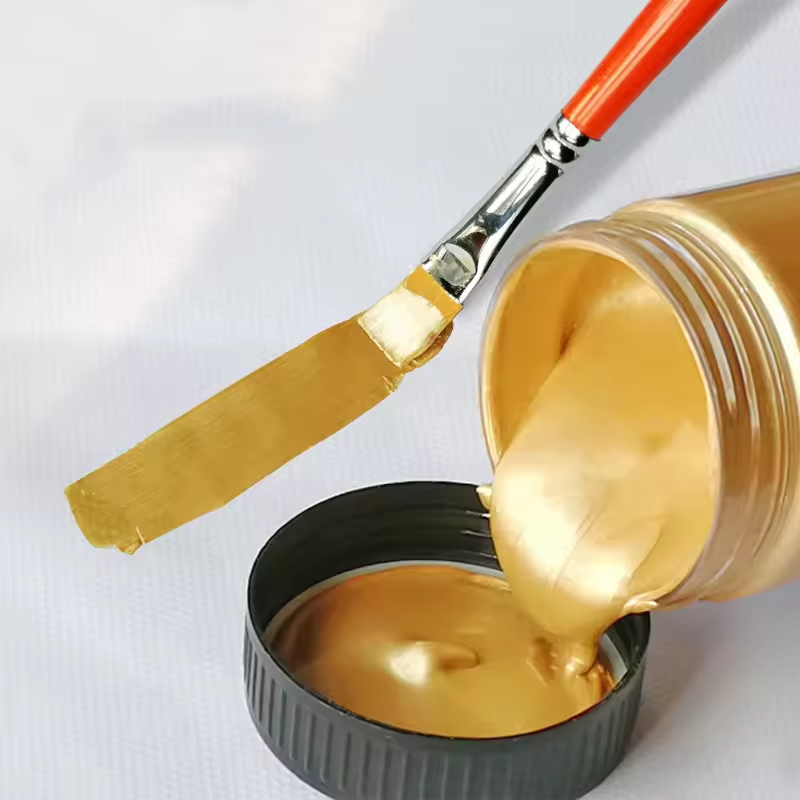
Paint viscosity refers to the thickness of the paint and how easily it flows. When airbrushing, the viscosity directly affects the spray pattern and coverage:
- Thicker Paints: These can lead to clogging in the airbrush and uneven application.
- Thinned Paints: A properly diluted paint can create a fine mist that adheres more evenly to the surface.
Recommended Viscosity for Airbrushing
For successful airbrushing, the general rule is that the paint should have a creamy consistency. This allows it to flow smoothly through the airbrush without causing clogs. Ideally, the paint should pour easily from a cup but should not be so thin that it runs off the surface you are painting.
Methods for Diluting Airbrush Paint
Using Water to Dilute Airbrush Paint
How to dilute airbrush paint? Water is a readily available and inexpensive option for thinning airbrush paint. However, it’s essential to know when and how to use it for the best results:
- When to Use Water: Water is perfect for water-based acrylic paints. It works well for artists who need to achieve lighter washes or fine details.
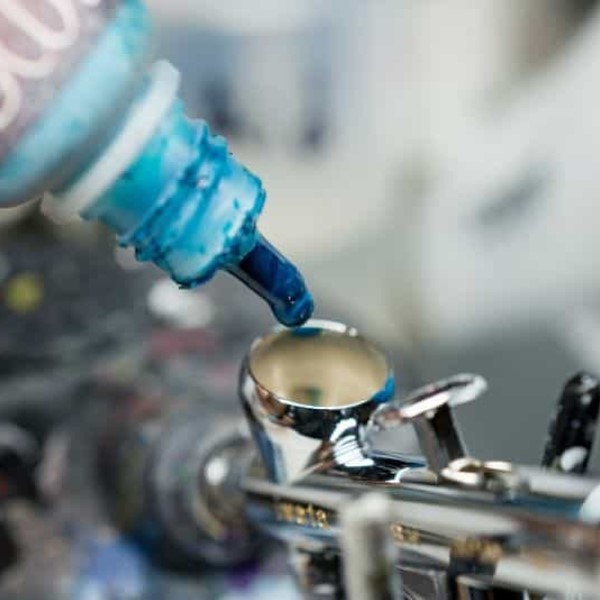
- How to Dilute with Water: Begin with a small amount of paint in your mixing cup. Gradually add water, starting with a few drops, and mix thoroughly. Test the paint consistency by spraying it on a scrap surface. If you find the paint is still too thick, continue to add water in small increments.
The Pros and Cons of Using Water
- Advantages:
- Readily available and cost-effective.
- Easy to control and adjust the viscosity.
- Disadvantages:
- Can weaken the paint’s binding properties if used excessively.
- Not suitable for oil-based paints.
Using Thinner to Dilute Airbrush Paint
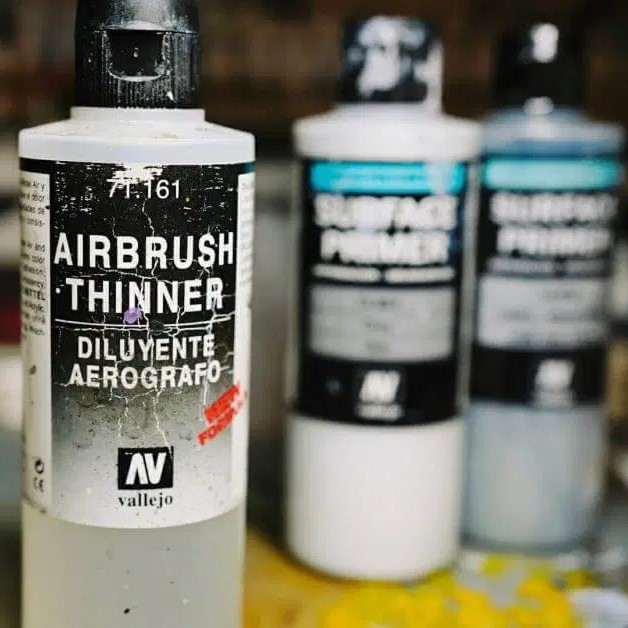
Commercial Paint Thinners
Commercial airbrush thinners are specialized products designed to work with various types of paint, including acrylic and enamel:
- Benefits of Using Thinner: Thinners improve the flow of paint while maintaining its integrity. They usually maintain color vibrancy and improve drying times.
- How to Use Thinner: Similar to water, start by pouring a small amount of paint into your mixing cup and add a few drops of thinner. Mix thoroughly and test the consistency with an airbrush.
When to Use Thinner vs Water
The choice between using thinner and water often depends on the type of paint you are using:
- Water for Water-Based Paints: If you work primarily with water-based acrylics, water is usually sufficient.
- Thinner for Oil-Based or Specialty Paints: For oil-based paints or those requiring specific drying times or textures, commercial thinners can yield better results.
How to Determine the Right Dilution Ratio
General Dilution Guidelines
How to dilute airbrush paint? Finding the right dilution ratio usually involves a bit of trial and error. Here are some general guidelines:
Start Small:
-
- Initial Dilution: When preparing your paint, begin by mixing in a small amount of thinner or water to the paint. A recommended starting point is a 10% dilution. This means for every 10 parts of paint, you should add 1 part of thinner or water.
- Gradual Increase: After your initial test, you can gradually increase the amount of thinner or water as needed. Monitor the paint’s consistency and performance as you adjust the dilution. This approach allows you to find the optimal balance without compromising the quality of the paint.
Test Before Committing:
-
- Choose an Inconspicuous Area: Before applying the diluted paint to a larger surface, select a small and hidden section of the material or wall where you intend to paint. This could be an edge, a corner, or a patch that won’t be easily noticeable.
- Evaluate Performance: Apply the diluted paint and observe how well it adheres, dries, and covers the surface. Pay attention to factors like color depth and finish. Allow it to dry completely before making final judgments about its suitability. This testing step helps avoid costly mistakes and ensures that the final outcome meets your expectations.
Maintain a Log:
-
- Recording Details: Keep a detailed log of the colors you use along with the specific ratios of paint to thinner or water for each project. Make note of any variations in technique or application methods that you try.
- Future Reference: This log will be particularly beneficial for large or ongoing projects where color consistency is crucial. By having a comprehensive record, you can easily replicate the exact shades and dilutions used previously, ensuring that your work maintains a uniform appearance throughout the project.
- Organize Information: Consider organizing your log chronologically or by project type for easy access. You might even include photographs of the test applications to visually document results alongside your notes.
Mixing Techniques
Achieving Uniform Mixtures
To ensure your paint is uniformly mixed, follow these steps:
- Use a Mixing Stick: Stir the paint and thinner thoroughly using a clean mixing stick. This helps eliminate any lumps and ensures an even consistency.
- Use a Paint Cup: If your airbrush has a paint cup, mix the paint and thinner directly in it for convenience.
 Tips for Troubleshooting Common Dilution Problems
Issues When Diluting Airbrush Paint
Even with the right techniques, problems can still arise when diluting airbrush paint:
Clogged Airbrush
- Understanding the Issue: A clogged airbrush nozzle is a common problem that occurs when the paint used is too thick. Thicker paint cannot flow easily through the narrow nozzle, causing blockages.
- Starting with Thinner Consistency: To prevent clogging, it is crucial to start with a paint mixture that has a thinner consistency. This will allow for smooth flow and better atomization as the paint passes through the airbrush.
- Testing for Thickness: Before loading the paint into the airbrush, test its viscosity by pouring a small amount onto a surface. The paint should run smoothly off the surface without leaving any clumps or streaks.
- Performing Regular Maintenance: Additionally, regular cleaning of the airbrush is essential. Residual paint can accumulate over time, leading to blockages. After each use, be sure to clean the nozzle and any other components to keep them free from dried paint.
Paint Running
-
Identifying the Problem: When paint is diluted too much, it can become runny. This leads to issues such as paint dripping or running off the intended surface while being applied.
- Achieving the Right Consistency: To avoid the problem of paint running, aim for a creamy consistency that maintains some body. This allows for controlled application without excessive fluidity.
- Testing Dilution Levels: Start with a slight dilution and apply a test spray to observe how the paint behaves. If it runs or drips, reduce the amount of thinner and test again until you find the right balance.
- Layering When Necessary: If running occurs, consider applying multiple thin layers instead of a single thick coat. Layering can help build color and depth without overwhelming the surface with liquid paint.
Uneven Coverage
- Recognizing Uneven Coverage: If you notice that the paint does not cover the surface evenly, this could be a sign that your dilution ratio is off.
- Reassessing Dilution Ratio: Check the amount of thinner or water added to the paint. If the paint is too thin, it may not provide sufficient pigment coverage. Conversely, if it’s too thick, it may not spray evenly, resulting in patches.
- Evaluating the Application Technique: In addition to checking the dilution, consider your spraying technique. The distance from the surface, angle of application, and speed can all affect how evenly the paint lays down.
- Fine-tuning for Best Results: Adjust your technique as needed, and don’t hesitate to experiment with different dilution levels until you achieve an even coat. Consistent practice will help develop a better understanding of how to achieve uniform coverage with your airbrush.
Frequently Asked Questions (FAQ)
What Can I Use to Thin Paint for Airbrushing?
You can use water for water-based paints and commercial thinners specifically designed for airbrush applications. Different paints may require specific thinning agents to ensure optimal results.
Can You Dilute Airbrush Paint with Water?
Yes, water is an effective thinning agent for water-based acrylic airbrush paints. However, ensure that you don’t dilute it excessively, as that can affect the binding properties of the paint.
How Diluted Should Airbrush Paint Be?
Airbrush paint should generally have a creamy consistency, flowing easily without being overly watery. A commonly used dilution ratio starts at 10% thinner or water to 90% paint, adjusting as needed based on testing.
How to Make Your Own Airbrush Paint Thinner?
To make your own thinner, you can mix one part distilled water with one part isopropyl alcohol or a few drops of glycerin. This allows you to create a custom blend tailored to your specific paint’s needs.

Conclusion: Perfecting the Dilution Process for Airbrushing
In summary, understanding how to dilute airbrush paint is essential for achieving the desired results in your artwork. Balancing between using water and commercial thinners will depend on various factors, including the type of paint and the effect you aim to achieve. Mixing the right consistency ensures smooth application, preventing clogs and uneven coverage. By following the guidelines detailed in this article, artists can enhance their airbrushing techniques and unlock greater creative possibilities. Ultimately, mastering the art of paint dilution will lead to stunning results in your projects, making airbrushing a more enjoyable experience. With the right knowledge and practice, you can create beautiful, precise work that showcases your artistic talent.