Getting Started with Pencil Sketching
Embarking on your pencil sketch drawing journey begins with understanding the basics. This section guides you through the essential tools, choosing the right pencils, and setting up your workspace for a smooth start.
Essential Supplies and Tools for Beginners
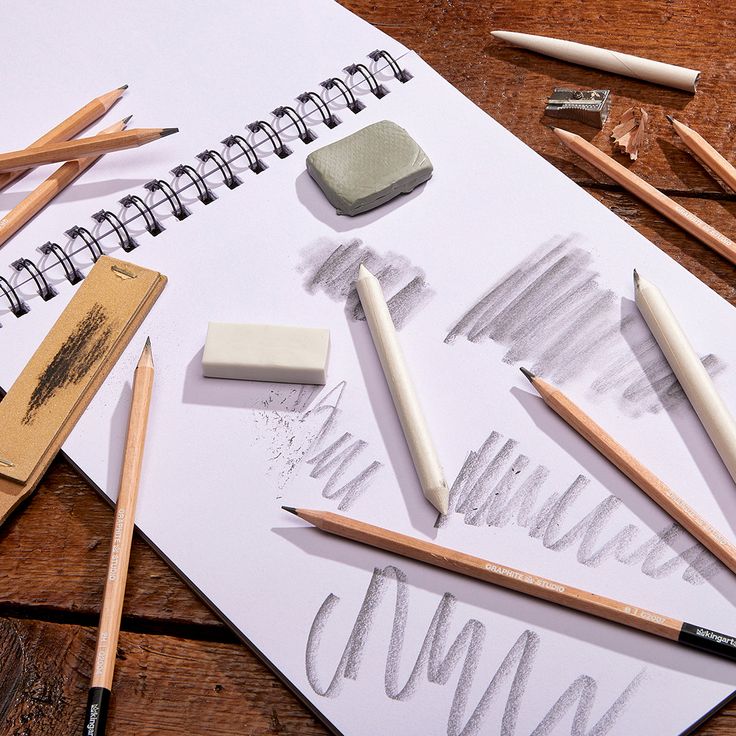
Before you start your sketching journey, gather the necessary supplies to help you create your best work. Here’s what you’ll need to begin:
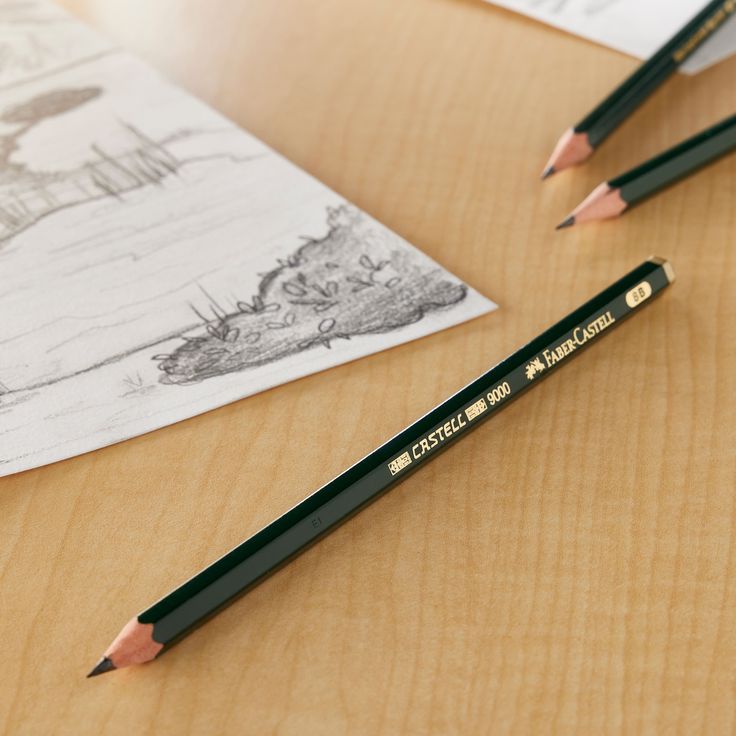
- Pencils: Use a range of graphite pencils, including H, HB, and 2B. Each pencil offers different tones and darkness levels, allowing for versatile shading.
- Erasers: Get two types of erasers—one kneaded eraser for soft edits and another regular eraser for precise corrections. Both will help you refine your sketches easily.
- Drawing Paper: Invest in medium-texture sketch pads. These provide a good balance between smoothness and texture, making them ideal for various drawing techniques.
- Sharpener: A quality sharpener is essential for keeping your pencil tips sharp and fine. This ensures that you maintain control during your sketches.
- Blending Tools: Use blending stumps or cotton swabs for achieving smooth shading effects. They help soften transitions and create a more polished look.
- Ruler: Keep a ruler handy for creating initial guidelines and straight edges in your drawings.
These supplies form the foundation for every beginner sketch artist, setting you up for success as you develop your skills.
Choosing the Right Pencils for Sketching
Not all pencils are equal, especially when it comes to sketching. Understanding different pencil grades will help you achieve the desired effects in your artwork. Here’s a quick guide to help you choose:
- H-Grade Pencils: These pencils create light, fine lines and are perfect for initial outlines. They provide precision without being too bold.
- HB Pencils: Known for their balanced hardness, HB pencils are great for general usage. They offer versatility, making them suitable for various techniques.
- B-Grade Pencils: Ideal for darker shading and bold details, B-Grade pencils produce rich, dark lines. They are excellent for depth and contrast in your sketches.
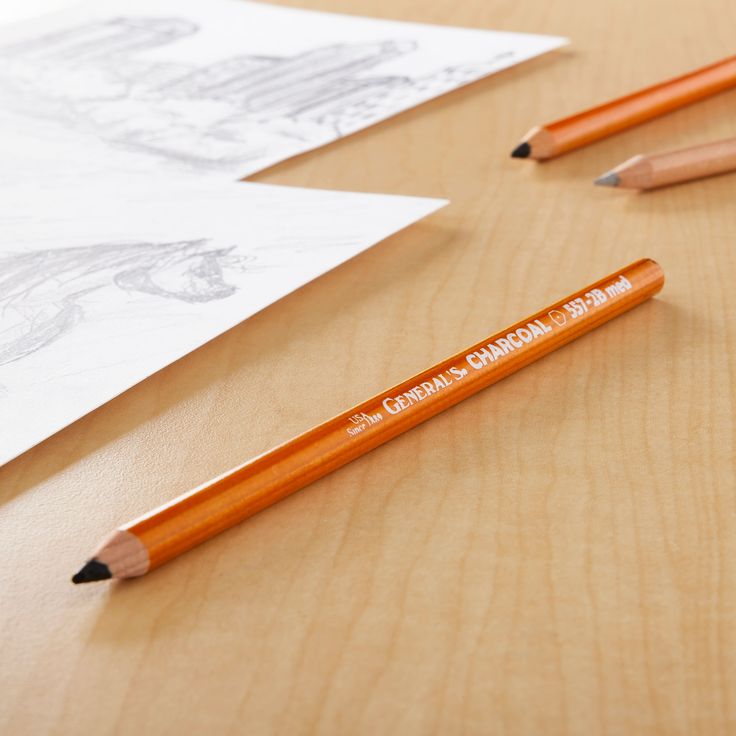
- Charcoal or Colored Pencils: These are perfect for experimental or expressive work. Charcoal offers deep blacks and a dramatic quality, while colored pencils bring vibrancy.
Experimenting with different grades helps you understand their unique effects on paper. Feel free to mix types within a single sketch to enrich your creative expression.
Preparing Your Workspace for Sketching
A dedicated, comfortable workspace makes sketching enjoyable and efficient. To prepare your setup:
- Good Lighting: Natural light is ideal, but a desk lamp works for evening work.
- Flat Surface: Use a sturdy table or desk for stability.
- Organized Supplies: Keep pencils, erasers, and tools within easy reach.
- Clean Area: Avoid clutter that distracts your focus.
A well-prepared workspace boosts creativity and minimizes interruptions. Start with a quiet, inspiring spot for your artistic endeavors.
Fundamental Pencil Sketching Techniques
Mastering fundamental techniques is key to creating stunning pencil sketches. These methods enhance your control and artistry.
Understanding Shading and Blending
Shading adds depth and realism to your sketches. Here’s how to master this technique:
- Learn Pressure Control: Adjust pencil pressure to create lighter or darker tones.
- Explore Gradual Shading: Practice creating smooth transitions between light and dark areas.
- Use Blending Tools: Blend with stumps, cotton swabs, or tissues for soft gradients.
- Layer Tones: Add layers of shading for richness and complexity.
Blending complements shading and smoothens rough areas. Avoid over-blending to maintain texture.
Mastering Line Work and Contours
Line work builds structure and defines your drawing. Develop precision and flow through regular practice:
- Practice Line Thickness: Use varying pressure for thin, medium, or bold strokes.
- Focus on Direction: Ensure lines follow the contours of your subject.
- Sketch Without Hesitation: Confident strokes lead to cleaner sketches.
- Use Guiding Lines: Draw faint guidelines for proportions and positioning.
Contours capture the shape of objects. Smooth, flowing contour lines improve realism and depth.
The Importance of Proper Pencil Grip
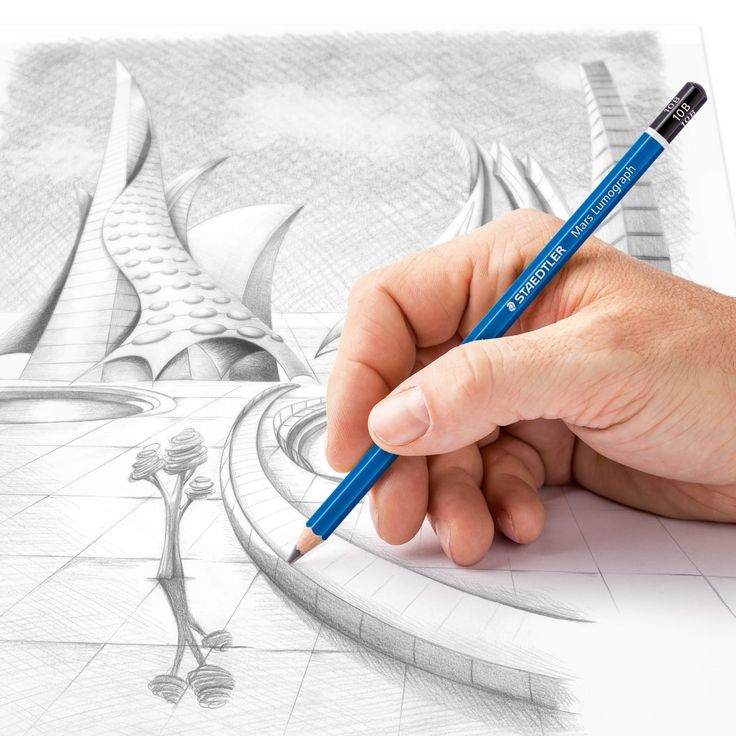
A correct pencil grip impacts control and comfort. Adjust your hold for different techniques:
- Tripod Grip: Recommended for fine details and precise strokes.
- Overhand Grip: Ideal for broader shading and loose sketches.
- Light Hold for Shading: Reduces strain and allows smoother transitions.
- Firm Hold for Detailing: Ensures steady, clean lines.
Experiment to find what feels natural but practice grips for better mastery over time.

Developing Your Sketching Skills
Improving your pencil sketch drawing skills is a rewarding journey. Developing technique and artistic control boosts confidence.
Practicing Basic Shapes and Forms
Start sketching basic shapes to build a strong foundation. Focus on circles, squares, and triangles:
- Circle Practice: Draw small and large circles to improve hand control.
- Square and Rectangles: Master symmetry and straight lines with these shapes.
- Triangle Drawing: Experiment with proportions and angles for dynamic sketches.
- Combine Shapes: Create objects using basic shapes. For example, draw a house using squares and triangles.
Regularly practicing these shapes hones precision and prepares you for complex drawing subjects.
How to Create Depth with Light and Shadow
Depth gives sketches realism. Light and shadow play a major role:
- Understand Light Sources: Determine the direction of the light in your drawing.
- Sketch Shadows: Use light and dark tones to create believable shadows.
- Gradual Shading: Create smooth transitions between highlights and shadows.
- Layer Tones: Add multiple shading layers for richer depth.
These techniques add perspective and enhance sketch appeal.
Learning the Art of Perspective in Sketching
Perspective adds dimension and realism to sketches. Practice is essential:
- Study Vanishing Points: Learn how objects recede to points in the distance.
- Master Horizon Lines: Place lines to divide sky and ground effectively.
- Draw Overlapping Objects: Focus on layering to show distance.
- Use Grid Guidelines: Create mood and structure for complex scenes.
Combining perspective with other techniques improves spatial drawings. Build skill by practicing trees, buildings, and landscapes.
Exploring Different Pencil Sketch Styles
Diving into diverse pencil sketch styles opens up endless artistic possibilities. Choose a style that resonates with your artistic vision and personality.
Realistic vs. Abstract Sketching
Realistic and abstract sketching represent two distinct approaches to art creation. Here’s how they differ:
- Realistic Sketching: Focuses on accuracy and detail. Captures life-like images and textures.
- Requires attention to proportions and shading.
- Ideal for portraits, objects, and nature landscapes.
- Abstract Sketching: Emphasizes creative freedom and expression. Breaks traditional boundaries.
- Includes exaggerated shapes and forms.
- Ideal for exploring emotions and contemporary ideas.
Both styles allow you to explore art from unique perspectives. Experiment to find your voice.
Techniques for Portrait Sketching
Portrait sketching highlights facial expressions and human features. Key techniques to keep in mind:
- Focus on Proportions: Start with basic guidelines for eyes, nose, and mouth placement.
- Layer Shading Gradually: Build depth with light and dark tones for skin texture.
- Capture Facial Features: Pay attention to details like eyebrows, lips, and wrinkles.
- Experiment with Pencils: Use soft graphite for shading and fine pencils for detail.
Practicing portraits sharpens your ability to portray emotions and unique characteristics.
Nature and Landscape Sketching Ideas
Nature sketches capture the beauty of the environment. Consider these ideas for landscape sketching:
- Tree Sketches: Focus on trunk textures and leaf patterns.
- Mountain Scenes: Include depth using perspective and shading.
- Water Features: Blend tones to depict smooth rivers or sparkling oceans.
- Sky Elements: Add soft gradients and clouds to create mood.
Use light and shadow to emphasize depth and scenery. Nature sketching fosters observation skills and creativity.
Common Mistakes and How to Avoid Them
Mistakes are common in pencil sketch drawing. Identifying and addressing them helps improve your skills.
Overworking Your Drawing
Overworking your sketch can make it appear messy and lifeless. To avoid this:
- Know When to Stop: End your sketch before adding unnecessary details.
- Plan in Advance: Visualize your sketch and stick to your initial idea.
- Step Back Frequently: Take breaks to review your progress with a fresh perspective.
- Avoid Over-Blending: Preserve texture by blending selectively, not excessively.
Keeping your sketches simple and clear maintains their appeal.
Struggling with Proportions and Perspectives
Proportions and perspectives can become challenging without proper practice. Avoiding common errors here is key:
- Use Guidelines: Draw faint lines for proportions and positioning.
- Practice Basic Shapes: Break complex subjects into simple shapes before adding detail.
- Learn Vanishing Points: Practice receding lines to create depth and dimension.
- Check Measurements: Regularly compare the sizes of your subjects for accuracy.
Consistency and regular practice improve your understanding of these concepts.
Managing Smudges and Erasures
Smudges and erasures can ruin your drawing’s appearance. To keep your work clean:
- Use Clean Hands: Reduce smudges by washing your hands before starting.
- Place Paper Under Your Hand: Resting your hand on another sheet protects your drawing.
- Use Kneaded Erasers Carefully: Lift graphite gently instead of rubbing hard.
- Work from Top to Bottom: This prevents smudging as you move down the page.
Managing your tools and workspace ensures a tidy and polished sketch.
Enhancing Your Pencil Sketches
Improving your pencil sketch drawing takes practice and experimentation. This section explores ways to elevate your craft.
Adding Texture and Details
Textures and details significantly enhance the visual appeal of your sketches. They create a sense of realism that captivates the viewer. Follow these tips to incorporate textures effectively:
- Study Real-Life Textures: Spend time observing various materials such as fabrics, wood, or skin. This practice helps you replicate realistic patterns in your drawings.
- Use Cross-Hatching: This technique involves layering intersecting lines to create depth and texture. Varying the spacing and direction of the lines can produce different effects.
- Experiment with Pencils: Switch between H and B grades to achieve diverse textures. H pencils can create fine, smooth lines, while B pencils provide darker, richer tones.
- Focus on Small Details: Pay attention to tiny elements like wrinkles, fur strands, or bark lines. These details bring your sketches to life and draw attention to important focal points.
Incorporating these textures and details makes your work more memorable and visually engaging.
Combining Pencil with Other Mediums
Combining pencils with other mediums adds creativity and versatility to your artwork. This technique allows you to explore various effects and enhance your sketches. Try blending pencils with the following mediums:
- Watercolors: Use watercolors to create beautiful backgrounds while relying on pencils for intricate details. This combination produces a soft, harmonious look.
- Charcoal: Mix pencil shading with charcoal for bold, dramatic tones. Charcoal enhances depth, making your sketches more striking and expressive.
- Ink Pens: Outline your pencil sketches with ink pens to achieve sharper edges and increased contrast. This method elevates the overall clarity and definition of your work.
- Colored Pencils: Introduce subtle or vibrant colors by layering colored pencils over your sketches. This addition enhances pivotal areas, adding richness and dimension.
Experimenting with mixed media opens up endless artistic possibilities. It also improves your adaptability, allowing you to find unique styles and techniques that resonate with your creative vision.
Tips to Make Your Sketches Stand Out
Making your pencil sketches unique can amaze viewers. Below are some helpful tips:
- Play with Negative Space: Use empty areas creatively to balance the composition.
- Incorporate Unique Angles: Draw from uncommon perspectives to add intrigue.
- Highlight Focal Points: Direct attention to key areas with bold lines or darker shades.
- Add Artistic Backgrounds: Include simple yet complementary backgrounds that don’t overpower the main subject.
- Use Contrasting Tones: Blend light and dark elements for dynamic visuals.
These techniques make your pencil sketches captivating and personal. Let your creativity flourish with consistent experimentation.
Tips for Regular Practice and Improvement
Regular practice is essential for growing your pencil sketch drawing skills. Consistency and focused efforts help.
Setting Realistic Goals for Sketching
- Start Small: Set manageable goals to avoid frustrations and ensure steady progress.
- Track Progress: Document improvements to identify strengths and areas for growth.
- Time Management: Dedicate specific time daily or weekly to sketching practice.
- Challenge Yourself: Gradually try complex subjects to push your artistic boundaries.
Realistic goals keep you motivated and provide direction for your creative journey.
Following Online Tutorials and Resources
- Watch Video Tutorials: Learn techniques from professional artists for detailed guidance.
- Read Blogs: Explore tips, tricks, and advice from experienced sketch artists.
- Use Apps: Sketching apps offer interactive exercises and helpful tools.
- Follow Social Media Pages: Discover step-by-step lessons and inspiration from art communities.
Online resources enhance learning and provide diverse styles to try.
Joining Art Communities for Feedback and Inspiration
- Join Local Groups: Collaborate with fellow artists in workshops or meet-ups.
- Participate Online: Share your sketches on forums and social platforms for constructive feedback.
- Attend Exhibitions: Visit art shows to learn from professionals and gather ideas.
- Collaborate on Projects: Work with other artists to exchange techniques and concepts.
Art communities encourage growth, creativity, and constructive criticism to improve your craft.