Introduction to Acrylic Paints for Modeling
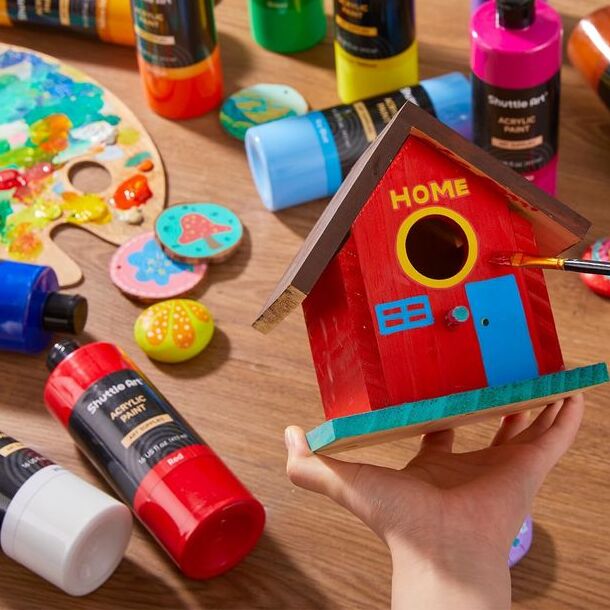
Acrylic model paints have become a staple for hobbyists and professional modelers alike. Their fast-drying properties and ease of use make them a favorable choice for those looking to achieve a professional look on their models. Designed specifically for plastic and metal surfaces, acrylic paints adhere well and offer excellent coverage. They come in a vast array of colors, and their water-soluble nature simplifies cleanup as compared to oil-based alternatives.
There are several reasons to choose acrylic model paints. Firstly, they’re less toxic and fume-free, making them safer for use in less ventilated areas. They also offer versatility, being able to be thinned with water or acrylic mediums for a range of effects and applications. Quick drying time allows for rapid progress on projects, decreasing overall painting time. Additionally, when it comes to modifying the color or texture, acrylics are very accommodating, allowing the addition of various mediums to achieve unique finishes.
Understanding the nature of acrylic model paints is key to mastering their application. Each layer of paint dries quickly, which means subsequent layers can be applied without long waits. It’s also important to know that acrylics dry to a waterproof finish, which helps protect the model and maintain its appearance over a long period. For beginners, starting with acrylic paints is a wise choice as they are user-friendly and forgiving. Mistakes can often be corrected simply by painting over them or washing them off with water before the paint dries.
In the following sections, we will delve deeper into the tools you’ll need, preparation of the model, mixing and application techniques, and ways to accomplish a smooth finish with your acrylic model paints. Whether you’re a beginner or an experienced modeler, understanding these basics is the first step in creating impressive models with eye-catching detail.
Essential Tools and Materials for Working with Acrylic Paints
To start your journey with acrylic model paints, you need the right tools and materials. Here’s what you should gather before you begin painting:
- Paint Brushes: Get a set of high-quality brushes in various sizes. They should have fine points for detailed work and flat edges for larger sections.
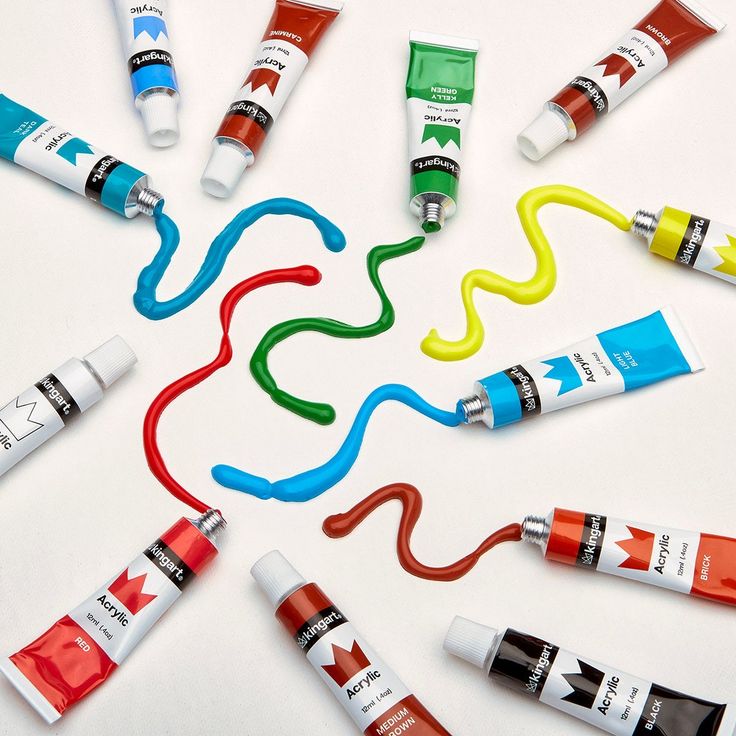
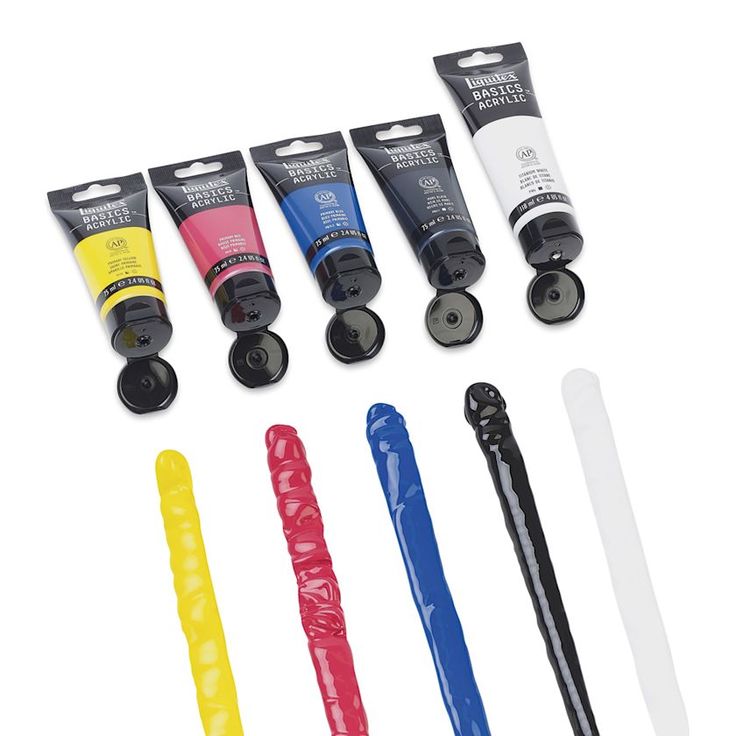
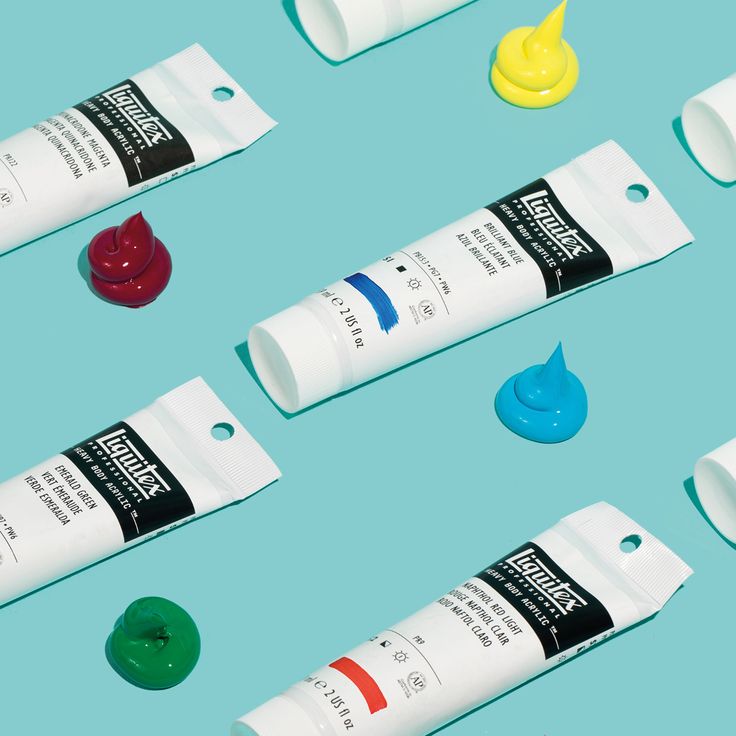
- Acrylic Model Paints: Choose a range of colors from a reputable brand, ensuring you have the primary colors at minimum. Make sure the paints are suitable for the material of your model.
- Palette: You’ll need a palette for mixing paints. A plastic or ceramic palette is easy to clean and won’t absorb moisture.
- Water Container: Keep a jar or cup of water handy for thinning paints and cleaning brushes.
- Paper Towels or Cloths: These are essential for wiping your brush between colors and cleaning up spills.
- Primer: A good quality primer will help paint adhere to the model and provide a uniform base for color application.
- Mixing Mediums: These can alter the properties of your acrylic paints, such as flow and drying time.
Remember, using the proper materials greatly affects the outcome of your modeling project. Proper tools and materials help you work efficiently and improve the final appearance of your model. As you gain experience, you can add more specialized tools to your kit, such as airbrushes or masking tape for precise edges. Keep your work area organized, and make sure you have good lighting to see the fine details as you paint.

Preparing the Model for Painting
Before diving into the colorful world of acrylic model paints, proper preparation of your model is crucial. A well-prepared surface ensures that the paint adheres properly and lays the foundation for a polished finish. Here’s how to get your model ready for that first stroke of paint:
- Clean the Surface: Begin by removing any dust, grease, or mold release agents from the model. Use a mild detergent and water, and gently scrub with a soft brush or cloth.
- Rinse Thoroughly: After cleaning, rinse the model well with clear water to remove any soap residue. It’s essential that the surface is completely clean before you start painting.
- Dry the Model: Pat your model dry with a soft towel or let it air-dry completely. Water can prevent paint from sticking, so make sure there’s no moisture left.
- Apply Primer: Once dry, apply a thin layer of primer to the model. Primer helps the paint stick better and gives you a uniform surface on which to work. Make sure the primer is suitable for acrylic paints.
- Sand Smooth: If there are any rough spots or imperfections, gently sand them with fine-grit sandpaper. This will create a smooth surface for your paint to go on evenly.
- Wipe off Sanding Dust: After sanding, use a clean, dry cloth to wipe away any dust. You want a spotless surface before your brush ever meets the model.
Taking the time to properly prepare your model can make a big difference in your painting project. Remember to handle the model carefully to avoid oils from your skin transferring to the surface. With a well-prepared model, you’re now set up for success and ready to unleash the vivid potential of acrylic model paints.
Techniques for Mixing and Applying Acrylic Paints
Mastering the art of mixing and applying acrylic model paints is essential for creating stunning models. Here’s a straightforward approach to get started:
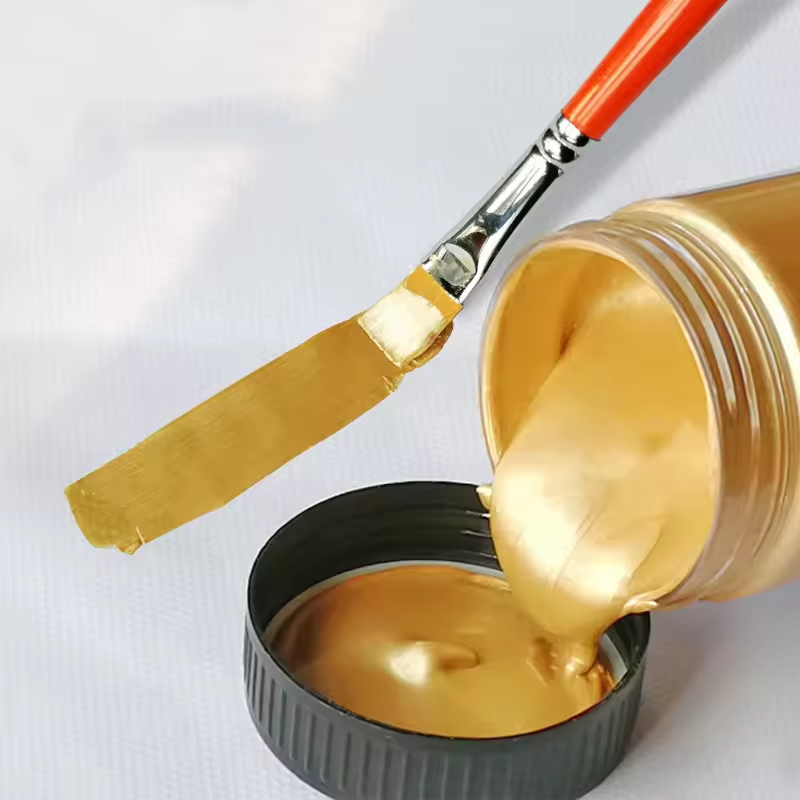
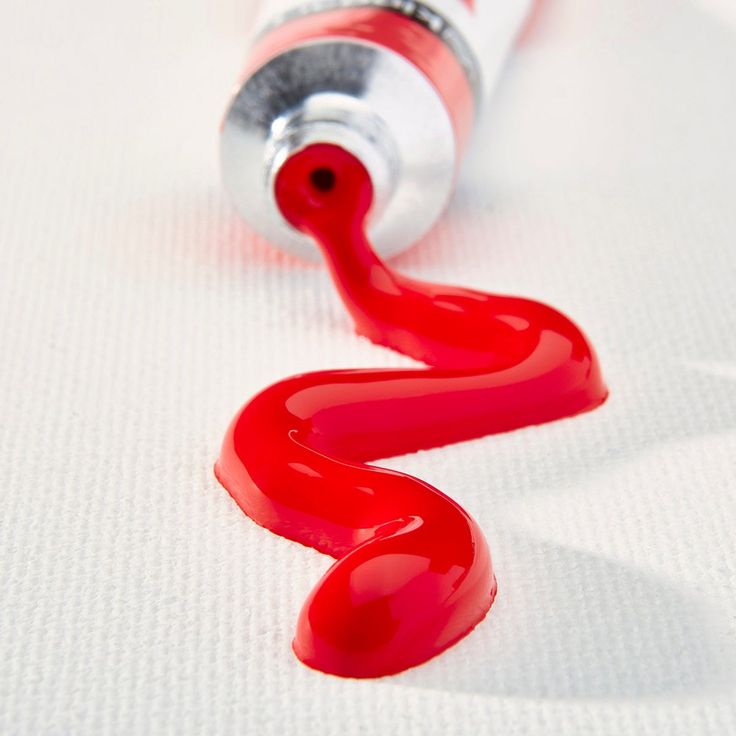
- Consistency is Key: The paint’s thickness can affect its application and appearance. Aim for a milk-like consistency for a smooth application. If the paint is too thick, it won’t flow well, and if it’s too thin, it won’t cover properly.
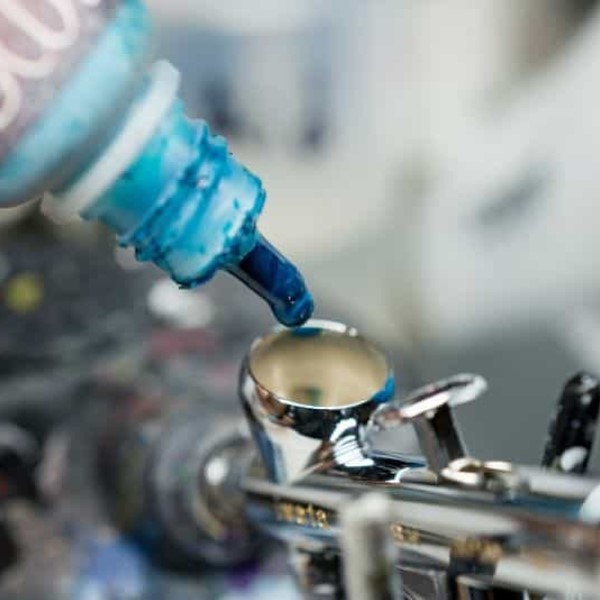
- Use a Palette: Drip a few drops of paint onto your palette. Add water or acrylic medium gradually. Stir slowly to avoid creating bubbles.
- Test the Mixture: Before you apply paint to your model, test it on a scrap piece. This helps ensure the consistency and color are what you’re aiming for.
- Apply with Care: When you’re ready to paint, use a quality brush appropriate for the task. Apply thin coats, allowing each to dry before adding the next. This prevents the paint from becoming lumpy or thick.
- Layer Colors: Build up color in layers. Start with darker shades and progress to lighter ones for depth and realism.
- Keep It Clean: Rinse your brush frequently. A clean brush means a finer finish and more precise application.
Remember, practice makes perfect. Don’t rush the process, and take your time to learn the behavior of acrylic model paints. With patience and practice, your technique will improve, leading to impressive results.
Tips for Achieving Smooth Finishes
Achieving a smooth finish with acrylic model paints can transform a good model into a great one. This section provides tips that help you master the technique of creating even, polished surfaces on your models.
- Thin Your Paints Appropriately: If paint is too thick, it can leave brush marks and texture. Thinning your acrylic model paints to the right consistency will allow for a smoother application. Aim for a consistency similar to skim milk for the best results.
- Apply Multiple Thin Layers: Instead of one thick coat, apply several thin layers. Allow each layer to dry completely before adding the next. This reduces the appearance of brushstrokes and creates an even finish.
- Use a Good Quality Brush: A high-quality brush with fine, soft bristles will help you apply paint more evenly. Replace brushes that start to fray or lose their shape.
- Keep a Wet Edge: Work from wet paint into dry to avoid creating lines or ridges. This technique is key to maintaining a uniform coat across your model.
- Sanding Between Coats: Once the paint is dry, gently sand it with fine-grit sandpaper. This will smooth out any imperfections and prepare the surface for the next layer of paint.
- Finish with a Sealant: After the final coat of paint has dried, apply a clear sealant. This will protect the paint job and give your model a professional-looking sheen.
With these tips and a bit of practice, you’ll soon be able to achieve smooth, flawless finishes on your acrylic painted models. Remember, patience and attention to detail are your allies in this task.
Detail Painting and Adding Realism
To elevate your model’s appearance, detail painting and adding realism are crucial. Here’s a simple guide to enhance your model’s details:
- Start with a base coat: Apply a solid base coat to your model. This sets the stage for detailing.
- Use fine brushes: For intricate details, use fine-tipped brushes. They help you paint tiny areas without spilling over.
- Add shadows and highlights: Use darker colors to add shadows and lighter colors for highlights. This technique gives depth to your model.
- Dry brushing: Lightly drag a dry brush with a bit of paint over raised details. It makes textures stand out.
- Washes: Apply a thin, transparent layer of paint to bring out details. It settles in crevices, emphasizing them.
- Decals: Use decals for complex patterns or logos. They add a professional touch.
- Varnish: Finish with a varnish to protect your work and give a realistic sheen.
By focusing on these steps, your model will gain a lifelike quality. Patience and a steady hand are key when adding these fine details. Keep practicing, and watch your skills grow with each model you paint with acrylic model paints.
Cleaning and Maintenance of Paint Brushes and Equipment
Proper cleaning and maintaining your tools is vital to the longevity of your acrylic model paints equipment. Here are simple steps to ensure your brushes and painting gear stay in top shape:
- Rinse Brushes Immediately: After using your brushes, rinse them right away. Acrylic paint dries fast and can ruin brushes.
- Use Mild Soap and Water: Clean your brushes with a gentle soap. Lather the bristles and rinse until the water is clear.
- Reshape Brushes: While wet, use your fingers to shape the brush’s bristles back to their original form. Let them dry horizontally.
- Avoid Soaking Handles: Don’t soak the entire brush in water. This can loosen the glue and damage the handle.
- Clean the Palette: Wipe your palette clean after each painting session. Dried paint wastes materials and makes mixing colors harder next time.
- Store Paints Properly: Cap your acrylic model paints tightly. Store them away from extreme temperatures to prevent drying out or separation.
- Regular Check: Periodically check your equipment. Replace any items that are worn out or damaged.
By following these maintenance tips, you can extend the life of your painting tools and ensure that they are ready for your next modeling project. Remember to keep your painting area tidy, which not only protects your equipment but also creates a conducive environment for your next session with your acrylic model paints.
Troubleshooting Common Acrylic Painting Issues
Even the most experienced modelers can encounter issues when working with acrylic model paints. Identifying common problems and knowing how to fix them can save your project from disaster. Here are some tips to help you troubleshoot the most frequent challenges:
- Paint Not Adhering: If your paint won’t stick, the surface might be dirty or oily. Ensure the model is clean and apply a primer before painting.
- Brush Strokes Visible: To reduce brush marks, use thin layers of paint and a soft brush. Also, try to keep your strokes even and use a wet edge painting technique.
- Bubbles in Paint: Avoid shaking your paint bottles vigorously. Mix gently on a palette to prevent air from getting trapped. If using a brush, don’t press too hard on the surface.
- Paint Dries Too Fast: If your acrylic paint dries before you can work with it, use a retarder medium or mix in a bit of water to slow down the drying time.
- Paint Dries Too Slowly: In humid conditions, paint might take longer to dry. Try using a hairdryer on a low setting to speed up the process, or mix in a drying accelerator.
- Color Mismatch: Always test your paint on a spare piece before applying. This helps check if the color on the model matches your expectations.
- Dull Finish: If the finish isn’t as glossy as you want, use a clear gloss varnish. Apply it after the paint dries for extra shine.
By being mindful of these common issues and how to handle them, you’re well on your way to mastering the use of acrylic model paints. Don’t get discouraged by problems; instead, use them as opportunities to learn and improve your skill set.